Introduction
The technique of using natural items for creating texture on canvas is simple yet powerful. From the first touch, you notice the difference unique visual and tactile effects.
For beginners, it’s a creative, sustainable, and affordable way to add personality to artworks.
Let’s explore what materials can be used, what to avoid, and how to ensure the durability of textured art.
What are natural textures and why use them
Natural textures are made from elements sourced directly from the environment (sand, fibers, wood, etc.). They enhance the artwork with both aesthetic and ethical value:
- Sustainability: reuse of materials like stone dust or recycled paper.
- Organic beauty: each particle brings uniqueness and authenticity.
- Cost-effectiveness: inexpensive or even free.
- Versatility: great for mixed media, acrylic, oil, or gesso techniques.
For beginners, collecting materials from your yard, the beach, or household waste makes the process accessible and enjoyable.
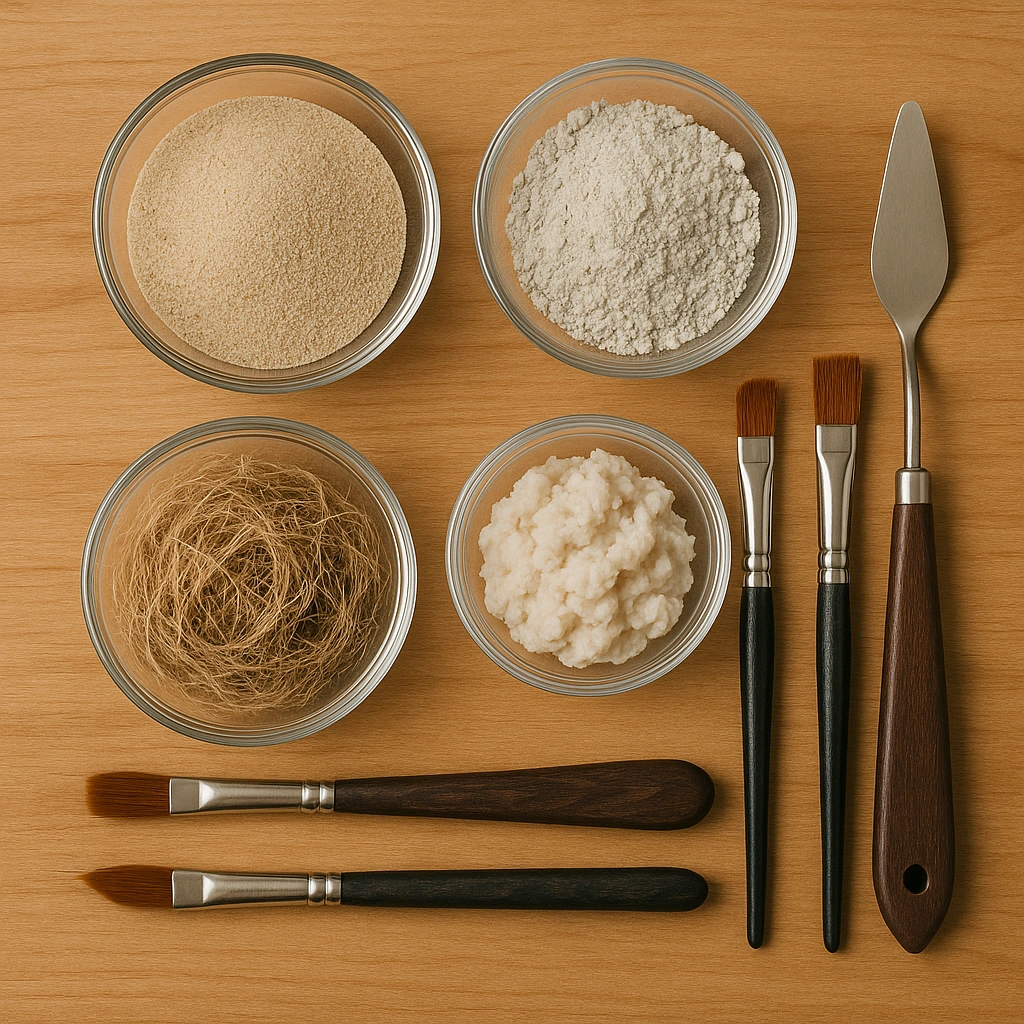
Recommended natural items
Here are some of the best natural items for creating texture on canvas:
1. Sand (fine and coarse)
- Rich in minerals, provides solid grainy texture.
- Use well-washed beach or garden sand.
- Easily adheres with acrylic base or PVA glue.
- Ideal for light relief and texture contrast.
2. Stone dust (marble, quartz)
- Fine powder, commonly used in framing or plaster.
- Offers a silky, refined texture.
- Mix directly with acrylic mediums.
- Perfect for smooth, sophisticated finishes.
3. Tree bark powder
- Dried and ground bark pieces.
- Adds fibrous structure and lightness.
- Great for rustic effects and organic surfaces.
- Blend with natural glue or acrylic gel.
4. Plant fiber (chopped straw, jute)
- Strong fibrous element.
- For volume, add short fibers to the base medium.
- Allows expressive relief in abstract paintings.
- Use extra fixative to prevent fiber shedding.
5. Cellulose (ground recycled paper)
- Blend newspaper, cardboard, or white paper with PVA glue.
- Creates a soft, paste-like texture.
- Easy to paint after drying.
- Sustainable and low-cost.
What to avoid not recommended items
Some natural materials can cause issues:
1. Unstable organic oils
- Cooking oil, animal or vegetable fats don’t adhere properly.
- Can cause future stains and reject additional layers.
2. Mold-prone or pest-attracting waste
- Food scraps, fresh leaves, untreated organic fibers.
- Risk of mold, fungi, or insects—even indoors.
3. Harsh chemical residues
- Avoid old paint remnants, solvents, or detergents.
- These may damage the canvas or hinder varnish setting.
4. Excessively heavy particles
- Like large pebbles or metal objects.
- Can weigh down the canvas and cause tears or warping.
How to prepare texture mixtures
Recommended proportions
- Base: acrylic paste, gesso, or PVA glue.
- Solid texture: 5–20% sand or powder by weight.
- Light fibers: up to 10% to maintain adhesion.
- Start with a small batch and add texture gradually to reach the desired effect.
Adhesion tips
- Mix thoroughly to avoid clumping.
- Apply in thin layers for even drying.
- Use a spatula or roller to embed particles.
- Avoid forced drying; let air cure naturally.
Care for long-lasting textured art
The longevity of a textured canvas depends more on preservation than application:
1. Proper sealants and varnishes
- After full drying (7–14 days), apply acrylic varnish or spray sealant.
- Protects against dust, moisture, and cracking.
- For fibrous textures, use matte varnish or acrylic polyurethane.
2. Moisture and mold prevention
- Keep textured canvases away from humid areas.
- Use silica gel behind the artwork in damp rooms.
- For mold spots, remove dust and seal with fungicide-based varnish.
3. Proper storage and display
- Avoid direct wall contact—use 1–2 cm spacers.
- Protect from direct sunlight and extreme heat.
- For shipping, cushion textured edges thoroughly.
4. Cleaning and maintenance
- Clean gently with a soft brush or dry cloth.
- Do not use damp cloths—the texture may absorb moisture.
- Reapply varnish every 1–3 years for renewed protection.
Practical examples using natural items
Project 1: Sand texture canvas
- Mix: 100 g acrylic paste + 15 g fine sand.
- Apply to a 30×40 cm canvas with a spatula.
- Let dry for 72 hours.
- Paint with acrylic gradient.
- Seal with spray varnish after 10 days.
Project 2: Jute fiber texture panel
- Mix PVA glue + 8 g shredded jute.
- Apply in organic shapes.
- After 48 hours, seal fibers with clear acrylic gel.
- Paint with acrylic spray for fiber protection.
- Finish with matte varnish.
These steps are beginner-friendly and allow safe experimentation with natural textures.
Common mistakes and how to avoid them
| Mistake | Result | Fix |
|---|---|---|
| Weak mixture | Poor adhesion or patchy results | Increase solid content gradually |
| Peeling texture | Texture detaches over time | Improve mix and apply sealant |
| Air bubbles | Raised areas that flake off | Mix slowly and press down with spatula |
| Heavy buildup | Canvas distortion | Use lighter particles and thin layers |
Time to experiment
We invite you to test different combinations of natural items for creating texture on canvas: try fine sand with cellulose or marble powder with jute fibers.
Experiment with different ratios until you find your perfect mix.
With some tweaks and observation, your art will gain texture, depth, and personality.
Now it’s your turn
With this journey into sustainable art, you’ll create with affordable materials while preserving the life of your artwork—starting with direct, practical steps.
Let your creativity lead, explore textures, learn through mistakes.
And when you’re ready for advanced techniques (like mixed media or resin), you’ll have a strong foundation to build on.