When you start painting with oil paint, one of the biggest questions for beginners is about drying time. This characteristic of oil paints can be both an advantage and a challenge, depending on how you understand and control the process. After all, drying time directly influences the final result of the painting, the finish, and even your technique.
Understanding the factors that affect the drying time of oil paints, such as pigment type, dilution, humidity, and temperature, is essential to ensure your work develops smoothly and with the best possible outcome. Furthermore, knowing how to speed up or slow down this process can be key to painting multiple layers or creating specific effects.
In this article, we will explore all of these aspects to help you master the drying time of oil paints.
Factors That Affect the Drying Time of Oil Paints
The drying time of oil paints is not a fixed rule and can vary depending on several factors. Let’s understand how each one influences the process.
Pigment
The pigment is one of the main factors responsible for the variation in drying time. Some pigments dry faster than others due to their chemical composition. For example, earth pigments (such as ochre or burnt sienna) tend to dry more slowly, while more synthetic pigments, like ultramarine blue and phthalo green, typically dry faster.
The choice of pigment also affects the type of finish you want to achieve. If you want faster drying, go for synthetic pigments, but if you prefer more time to work on details, opt for earth pigments.
Dilution
The degree of dilution of the paint with solvents also directly affects drying time. The more diluted the paint, the faster it tends to dry. Using turpentine, mineral spirits, or linseed oil can alter drying times because these solvents have different evaporation rates.
If the paint is heavily diluted, it may dry faster, but it is essential to find the right balance. Excessive dilution can affect the opacity and coverage of the paint, compromising the quality of your painting.
Humidity and Temperature
The humidity and temperature of the environment play a significant role in the drying time of oil paints. In hot and dry environments, the paint dries faster due to a higher rate of solvent evaporation. On the other hand, in cold and humid environments, the drying process is slower, which can be beneficial if you need more time to work on details.
Additionally, very high temperatures can cause cracking in the paint layers, while excessive humidity can lead to uneven drying and even bubbling.
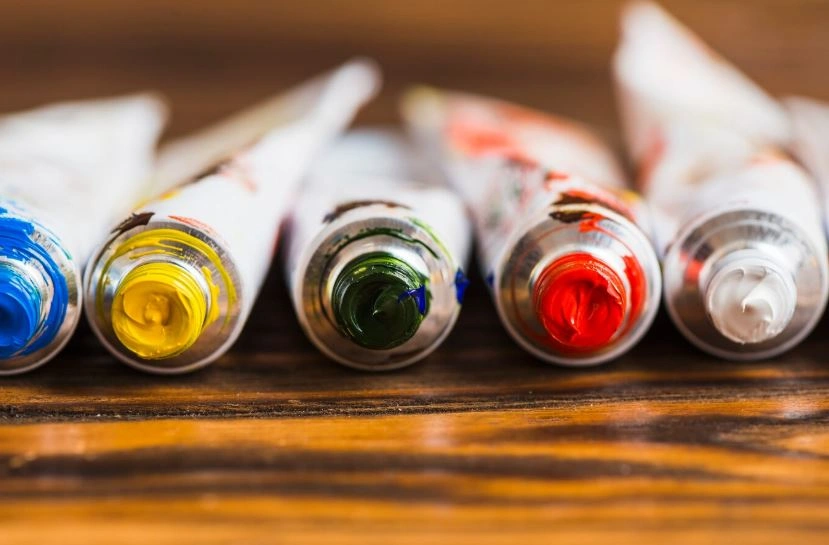
Drying Times of Different Oil Paint Colors
Each oil paint color has a unique drying rate, which can vary significantly depending on the pigment used. Let’s compare a few colors to better understand how they behave:
- Earth tones (ochre, sienna, umber): As mentioned, colors made from earth pigments dry slower. This makes them ideal for techniques that require more time to blend or create smooth transitions.
- Synthetic colors (ultramarine blue, phthalo, emerald green): These colors tend to dry faster, which can be helpful for those wanting to build layers quickly. However, they may not be as suitable for techniques requiring more time to work.
- Zinc white and titanium white: Titanium white is one of the fastest drying colors, while zinc white dries more slowly. This difference is due to the chemical compounds present in these pigments.
Understanding these differences can help you plan your painting more effectively, balancing fast and slow-drying colors as needed for your style and technique.
Tips to Speed Up or Slow Down Drying Safely
It is possible to speed up or slow down the drying time of oil paints safely, which can be useful depending on your artistic needs.
Speeding Up Drying
If you are working against the clock and need the paint to dry faster, here are some tips:
- Use a drying agent: There are specific products, such as cobalt drier or manganese drier, that speed up the drying process. These products should be used sparingly, as they can alter the texture of the paint.
- Increase ventilation: A more ventilated environment helps evaporate the solvent more quickly, speeding up the drying process.
- Expose to gentle heat: Placing your painting in a warm environment can help speed up drying, but be cautious of excessive heat that may damage the painting.
Slowing Down Drying
If you need more time to work with the paint or wish to create thicker layers, consider these strategies:
- Add linseed oil: Linseed oil is one of the most common mediums to slow down the drying of oil paints. It keeps the paint more fluid, allowing you more time to work.
- Decrease ventilation: Less ventilation and higher humidity can slow down drying, which may be useful for techniques requiring constant blending.
- Glazing techniques: Using thin layers of paint (glazing) allows the lower layers to dry, slowing down the drying time in the upper layers.
The Importance of Ensuring Dry Layers Before Applying New Ones
One of the key rules when working with oil paints is ensuring that each layer is completely dry before applying the next. This is known as the “fat over lean” technique. Thicker layers (with more oil) should be applied over thinner layers (with less oil), and it’s essential to wait for each layer to dry thoroughly before adding another.
Painting over dry layers helps prevent issues like cracking, bubbling, or peeling of the paint, ensuring a more durable and higher-quality painting.
Moreover, respecting the drying time of each layer allows you to work more controlled, creating refined details and effects without compromising the structure of the painting.
How to Control the Drying Time of Oil Paints and Achieve Professional Results
Understanding the drying time of oil paints and how it can be influenced by factors like pigment, dilution, humidity, and temperature is crucial for creating high-quality paintings. By applying tips to speed up or slow down the drying process, you can tailor it to your painting style, ensuring better results and more control over your work.
Also, always remember that waiting for each layer to dry completely before applying another is essential to avoid problems in the finish and to ensure your painting will be long-lasting. With these guidelines, you’ll be ready to explore the full potential of oil paints and create amazing works of art.