Why Draw with Charcoal?
Charcoal is one of the most expressive and versatile materials when it comes to drawing. While often associated with dramatic, shaded drawings, charcoal offers a range of possibilities for beginners who want to explore a new medium. Whether you’re new to drawing or looking to experiment with different materials, charcoal can be the perfect choice to develop your style and improve your skills.
In this guide, we’ll explore the basics of drawing with charcoal, including how to use it, the materials you’ll need, and how to master this technique to create drawings rich in texture and depth. If you want to add a touch of drama and realism to your drawings, charcoal is an excellent option.
1. What is Charcoal and How Does It Work in Drawing?
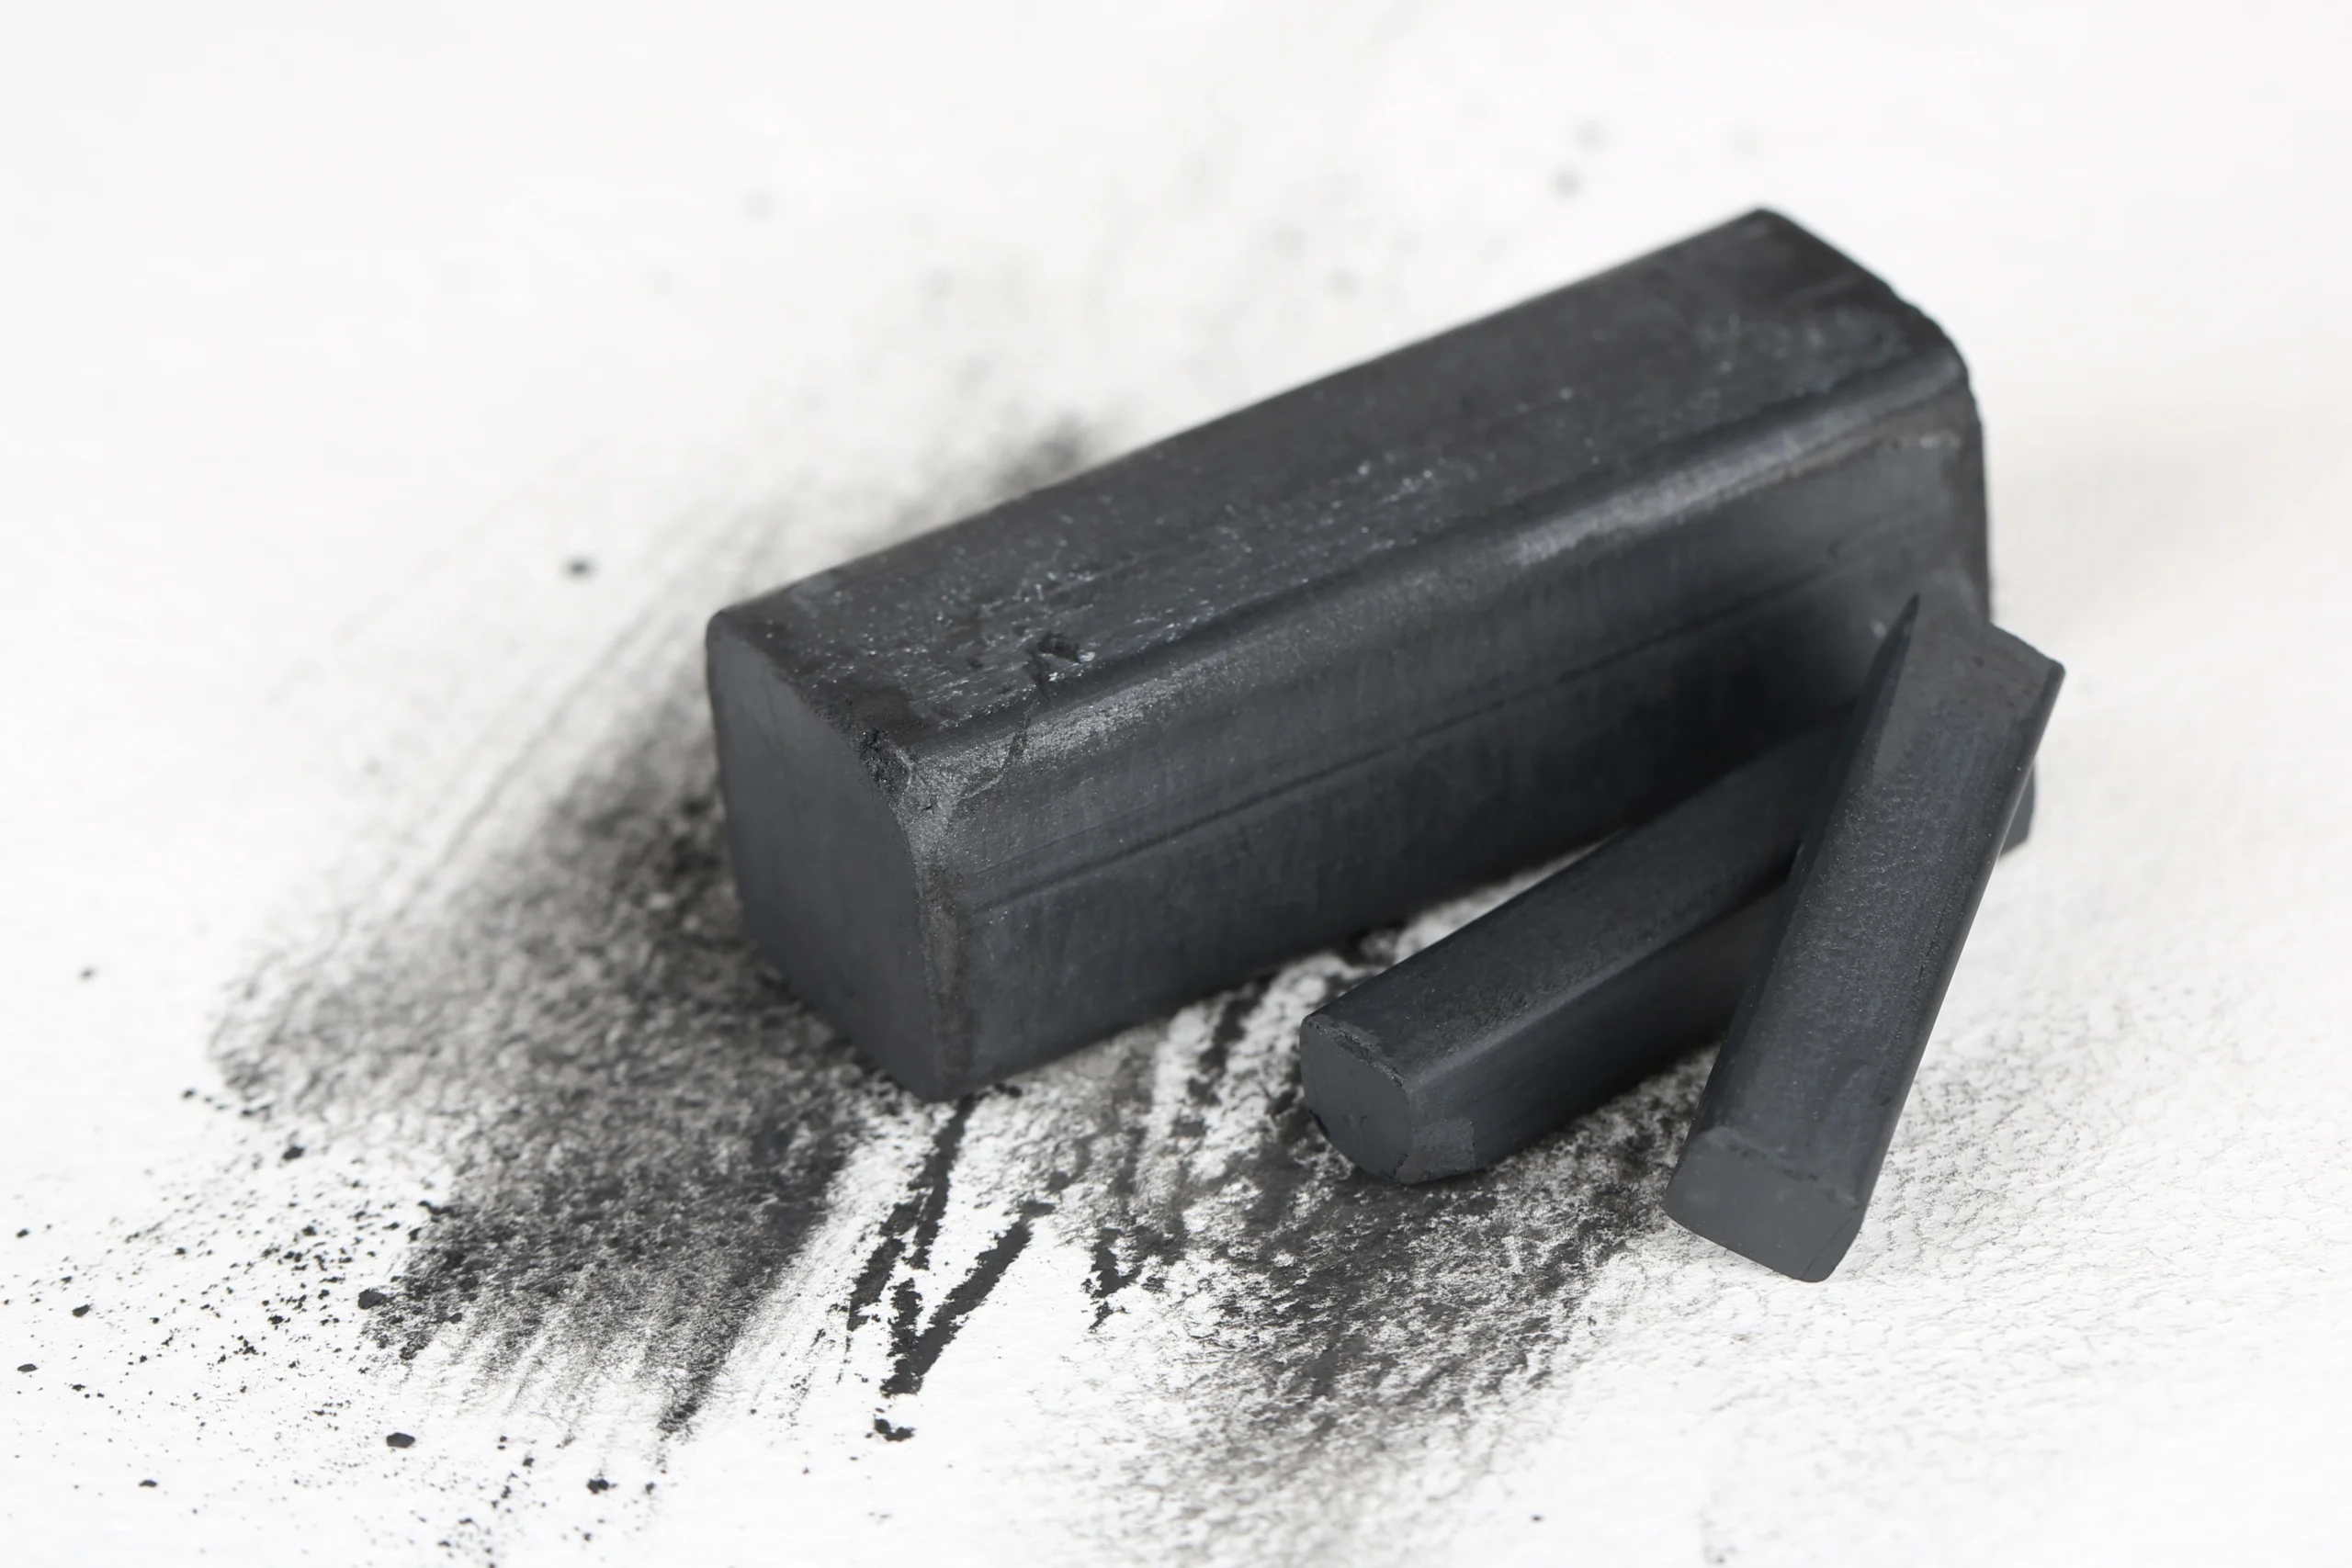
Charcoal is a drawing material made from the controlled burning of wood. It has a unique texture and is widely used to create deep shading and striking contrasts. Unlike pencils or pens, charcoal provides a smoother application and rich tonal quality that helps create drawings with more depth and drama.
Types of Charcoal
There are primarily two types of charcoal used in drawing:
- Vine charcoal: Made from burnt wood, vine charcoal is the most common and has a softer texture. It’s ideal for creating smooth shading and gradients, and it’s easier to erase and blend.
- Compressed charcoal: This type of charcoal is denser and darker. It’s used for strong lines and sharper contours. Unlike vine charcoal, compressed charcoal tends to be harder to erase, which requires more control.
Why Use Charcoal?
Charcoal is a great choice for those who want to create expressive and emotional drawings. Its flexibility allows for both bold, hard lines and soft, subtle shadows, making it perfect for portraits, landscapes, and studies of light and shadow. The texture of charcoal also allows for blending and smudging, creating smooth transitions between light and shadow areas.
2. Materials Needed to Draw with Charcoal
To start drawing with charcoal, you’ll need a few basic materials. Although charcoal is a simple medium, choosing the right tools can make a big difference in the quality of your work.
Charcoal
- Vine charcoal sticks: Vine charcoal sticks are perfect for beginners as they are easy to handle and can be used to draw both fine lines and larger areas of shading.
- Compressed charcoal: Ideal for those who want to work with strong lines and detailed areas. Compressed charcoal is darker and denser, providing a stronger contrast.
- Charcoal powder: This type of charcoal is great for creating large areas of shading or for blurring and smudging effects. It can be applied with brushes or blending stumps.
Paper
- Charcoal paper: The best paper for charcoal drawing is one with a rough texture that helps hold the charcoal and allows for better application of the technique. Textured paper also makes it easier to create richer shading.
- Sulfite paper: For beginners, sulfite paper can be a good option for practice, although it’s not ideal for more detailed techniques. It doesn’t hold charcoal as well as textured paper, but it’s enough to get started.
Other Materials
- Kneaded eraser: Essential for erasing charcoal accurately. It can be molded and used to gently remove charcoal without damaging the paper.
- Blending stump: A blending stump or blending brush helps to smooth out the charcoal and create smooth transitions between shadows. It’s useful for achieving gradients and blending areas of light and shadow.
- Fixative: Fixative helps preserve the drawing, preventing the charcoal from shifting or smudging over time. Use it to protect your finished work.
3. How to Start Drawing with Charcoal
Now that you know the materials, it’s time to start drawing with charcoal. Let’s go through the step-by-step process of creating a basic charcoal drawing, from sketching to finishing touches.
Step 1: Make a Light Sketch
As with any drawing, the first step is to create a light sketch of what you want to draw. Use an H or HB pencil to make a simple, soft outline. Don’t worry about details at this stage—just define the basic structure.
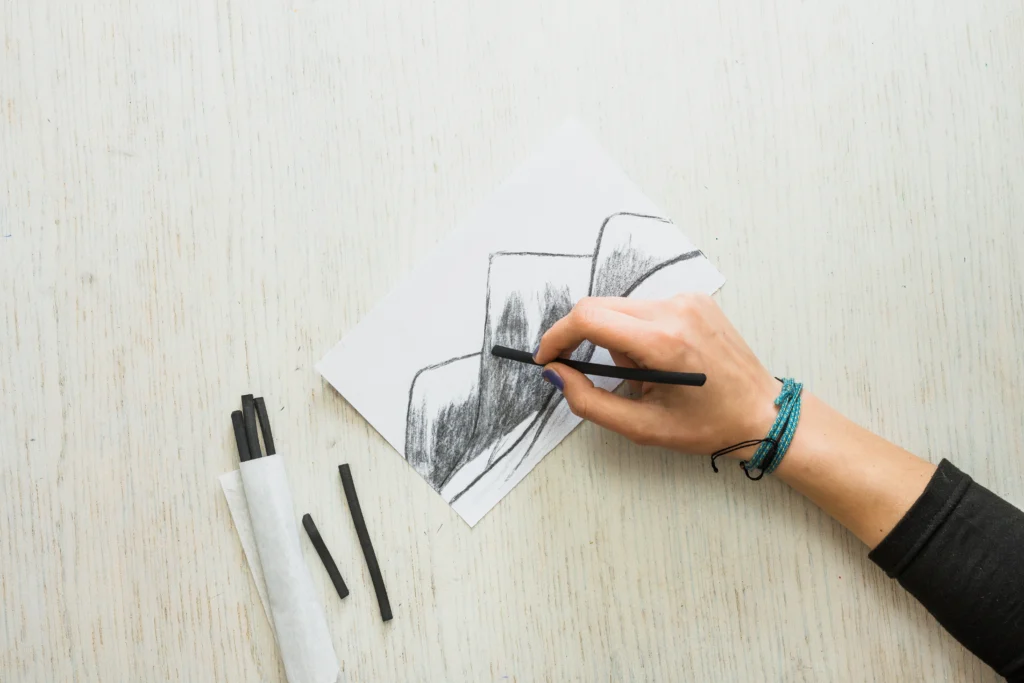
Step 2: Apply the Charcoal
Start applying charcoal softly. Use light, circular motions to build up shading. Begin with lighter tones and gradually intensify the shading as needed. Remember that charcoal is easy to blend, so use the blending stump to soften areas and create smooth transitions.
Step 3: Create Contrasts
Charcoal is great for creating dramatic contrasts. Use compressed charcoal to work with darker areas and increase the contrast in your drawing. Pay attention to the light sources and add deeper shadows in areas further from the light.
Step 4: Detailing
With charcoal, you can add details and textures to your drawing. If you’re drawing a portrait, for example, add details like eyes, hair, and wrinkles to create realism. Use the kneaded eraser to lighten areas and create highlights. For more complex textures, such as hair or skin, experiment with hatching and stippling to create depth.
Step 5: Finish with Fixative
Once you’ve completed your drawing, apply a fixative to prevent smudging. Spray it lightly and evenly to avoid interfering with the delicate areas of your work.
4. Tips and Tricks to Improve Your Charcoal Drawings
Here are some tips and tricks to help you improve your skills when drawing with charcoal:
- Use different types of charcoal: Try both vine charcoal and compressed charcoal to achieve a variety of textures and contrasts in your drawing.
- Vary the pressure: When drawing with charcoal, alternate the pressure in shading areas to create smooth gradients and give your drawing volume.
- Pay attention to details: Don’t underestimate the importance of details. They make all the difference when it comes to realism and expression in your work. Take your time observing and recreating textures from the subject, whether it’s a fruit’s surface or an animal’s skin.
- Practice blending: Blending charcoal is key to creating smooth transitions in light and shadow. Use a blending stump or a piece of paper to improve this technique.
- Be patient: Charcoal is a technique that requires time and patience. Don’t rush the process of shading or detailing. Each layer of charcoal contributes to the drawing’s depth.
5. Care and Preservation of Charcoal Drawings
Charcoal is a medium that can easily smudge or be damaged if not handled properly. Here are some tips to take care of your charcoal drawing:
- Avoid touching shaded areas: Charcoal can easily transfer to your fingers, so avoid touching shaded parts of your drawing directly.
- Storage: Store your drawings flat and avoid folding them. If necessary, place a piece of tissue paper over the drawing to protect it.
- Use fixative: As mentioned earlier, fixative is essential to preserve your work and prevent charcoal from shifting or smudging.
Start Drawing with Charcoal Now!
Drawing with charcoal might seem challenging at first, but with practice and patience, you can create drawings full of detail and depth. By following the steps and tips in this guide, you can begin experimenting with this versatile and expressive technique. Remember that constant practice is the key to improving your skills. So, grab your charcoal and start creating!