Practice is the Key to Improving Your Drawing Skills
If you’re starting to draw or already have some experience, you know that consistent practice is essential for improving your artistic abilities. Sometimes the learning process can feel challenging, but it’s important to understand that every exercise, no matter how simple, can take you one step closer to mastering the art of drawing.
In this article, we’ll explore a series of exercises to draw better, especially designed for beginners. With these exercises, you’ll improve your line accuracy, enhance your spatial perception, and learn how to capture details more effectively. We’ll cover simple and effective techniques so you can train and strengthen the skills necessary to create more complete and realistic drawings.
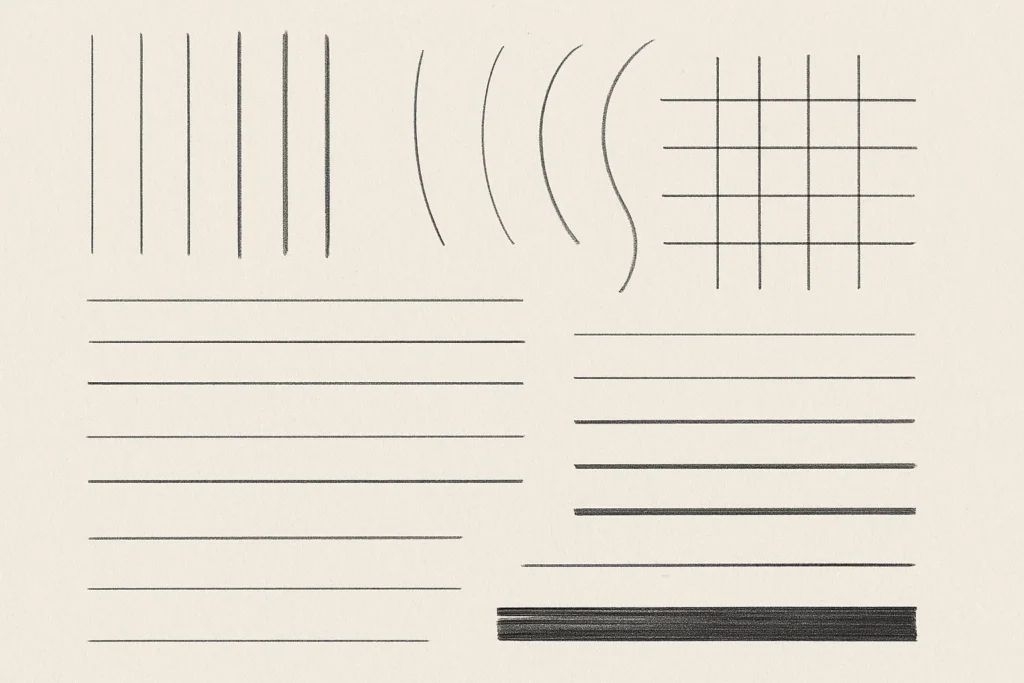
1. Line Drawing Exercises: The Foundation of Every Drawing
Before you start drawing complex shapes or details, it’s crucial to train your lines. Lines are the backbone of drawing, and having good control over them is essential for constructing any object, character, or scene.
How to Do the Exercise
- Draw Straight and Curved Lines: Take a sheet of paper and draw multiple straight and curved lines in different directions. Try to keep them as uniform as possible and practice varying your pencil pressure to achieve both thin and thick lines.
- Draw Parallel and Perpendicular Lines: Create a series of parallel lines, then intersect them with perpendicular lines. This helps train your hand control and improves your motor coordination while drawing.
- Practice Different Line Weights: Use pencils with different hardness levels to practice line thickness variation—from fine lines (H) to bolder lines (B).
Pro Tip: Mastering line control is the first step toward drawing with precision. Repeat this exercise regularly until your lines become more consistent and confident.
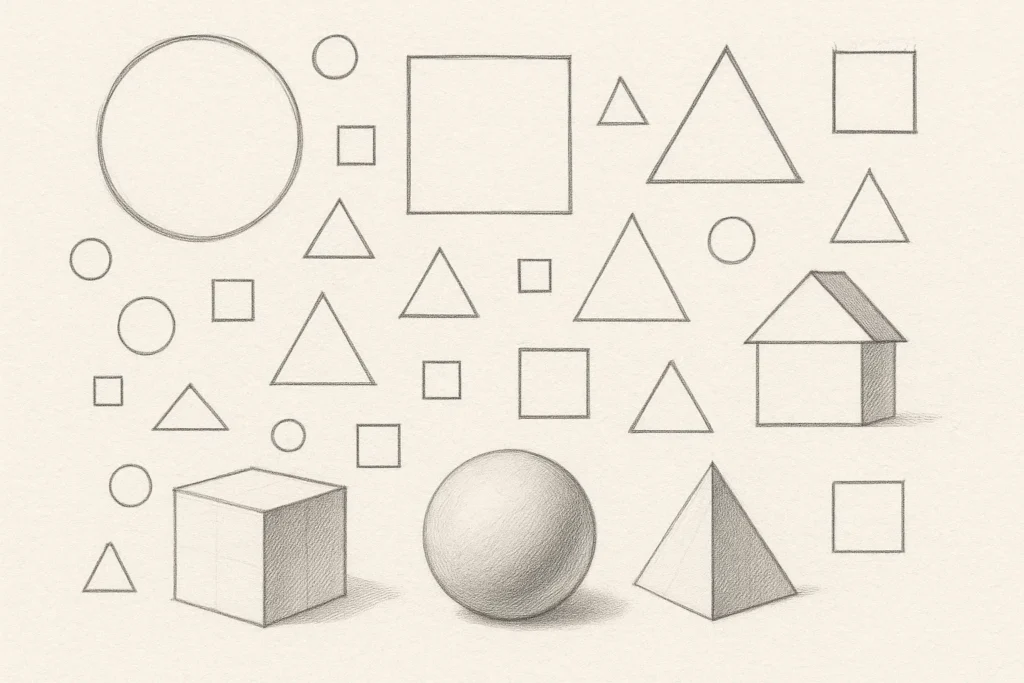
2. Drawing Geometric Shapes
Practicing geometric shapes is fundamental to learning how to draw. Almost every object can be broken down into basic shapes like circles, squares, triangles, and rectangles. The more you master these forms, the easier it will be to draw complex figures.
How to Do the Exercise
- Draw Basic Shapes: Start by drawing circles, squares, triangles, and rectangles in various sizes and positions. Do this freehand, observing and recreating the shape without using a ruler.
- 3D Forms: Next, draw the shapes in perspective—like cubes, spheres, and pyramids. Add shading to give them a three-dimensional effect.
- Combine Shapes: Try combining simple shapes to create more complex drawings. For example, draw a house using rectangles, triangles, and squares.
Pro Tip: Practicing geometric shapes will help you understand how structures are formed and how to use proportion and symmetry in your drawings.
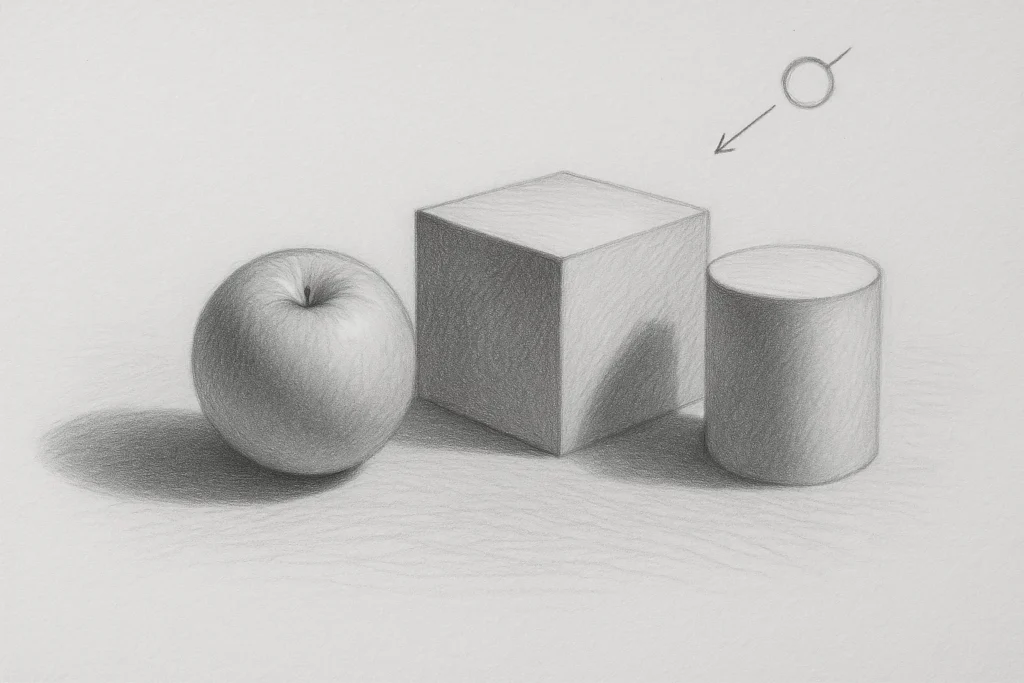
3. Light and Shadow Drawing Exercise
Understanding how light and shadow work is essential for adding volume and depth to your drawings. One of the most effective ways to improve your shading is by practicing with light sources and studying how they affect the surfaces you draw.
How to Do the Exercise
- Draw with Direct Lighting: Place a simple object, like an apple or a box, in a well-lit area and draw it. Observe how the light hits the object and where the shadows fall. Apply soft shading to the shadowed areas and create contrasts in the highlights.
- Practice Gradient Shading: Create smooth gradients from dark to light without hard edges. Use a blending stump or a piece of paper to soften transitions.
- Cast Shadows: Practice drawing the shadows cast by an object on the surface. This will help you better understand how light interacts with form and environment.
Pro Tip: Learning to shade correctly is essential for realism. Practice creating soft shadows and observing how light behaves on different objects.
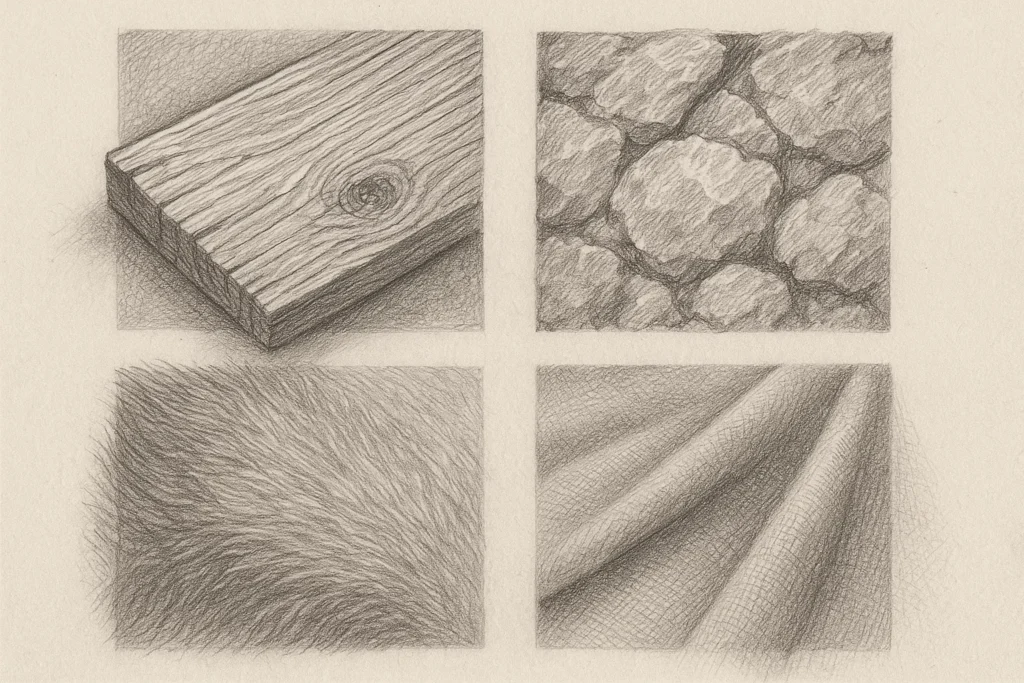
4. Texture Drawing Exercise
Adding texture to your drawing can greatly enhance the level of realism and complexity. Practicing how to represent various textures—like wood, metal, skin, and fabric—helps make your work more dynamic and interesting.
How to Do the Exercise
- Observe Natural Textures: Choose an object with a visible texture, such as a leaf, rock, or piece of cloth. Observe closely how the texture is formed and try to recreate it using hatching, stippling, or curved lines.
- Draw Different Surfaces: Practice drawing surfaces like wood, stone, skin, and fabric using hatching techniques to mimic their textures.
- Mix Textures: Try combining various textures in the same drawing, such as a wooden object on a fabric surface. This will help you understand how textures interact and how to add depth to your artwork.
Pro Tip: Practicing textures will make your drawings more detailed and realistic. Don’t rush—take your time to understand how different surfaces behave.
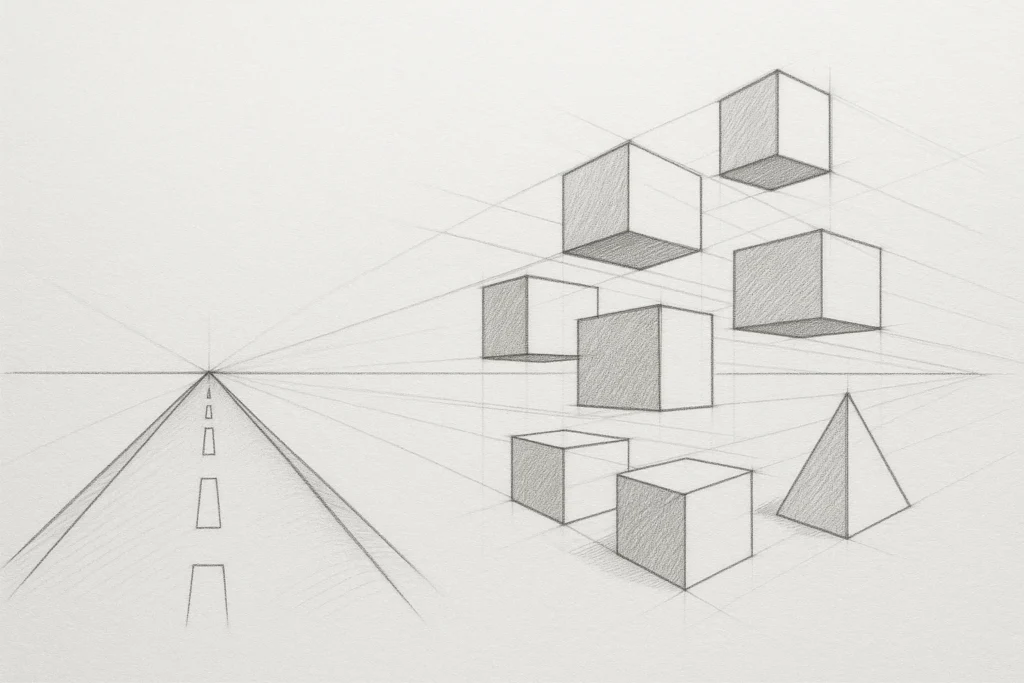
5. Perspective Drawing Exercise
Perspective is a crucial technique that will help you draw objects in three dimensions. With perspective, you can create the illusion of depth and space, which is essential for representing scenes and objects realistically.
How to Do the Exercise
- One-Point Perspective: Start by drawing a road, street, or hallway using one-point perspective. Draw a horizon line and add vanishing lines converging at a single point.
- Two-Point Perspective: Once you’ve mastered one-point, move on to two-point perspective, where the vanishing lines converge at two separate points on the horizon.
- Drawing Forms in Perspective: Practice drawing cubes, boxes, and pyramids in perspective. This helps you understand proportion and spacing.
Pro Tip: Perspective can be tricky at first, but with practice, you’ll learn how to represent objects in a realistic, three-dimensional space.
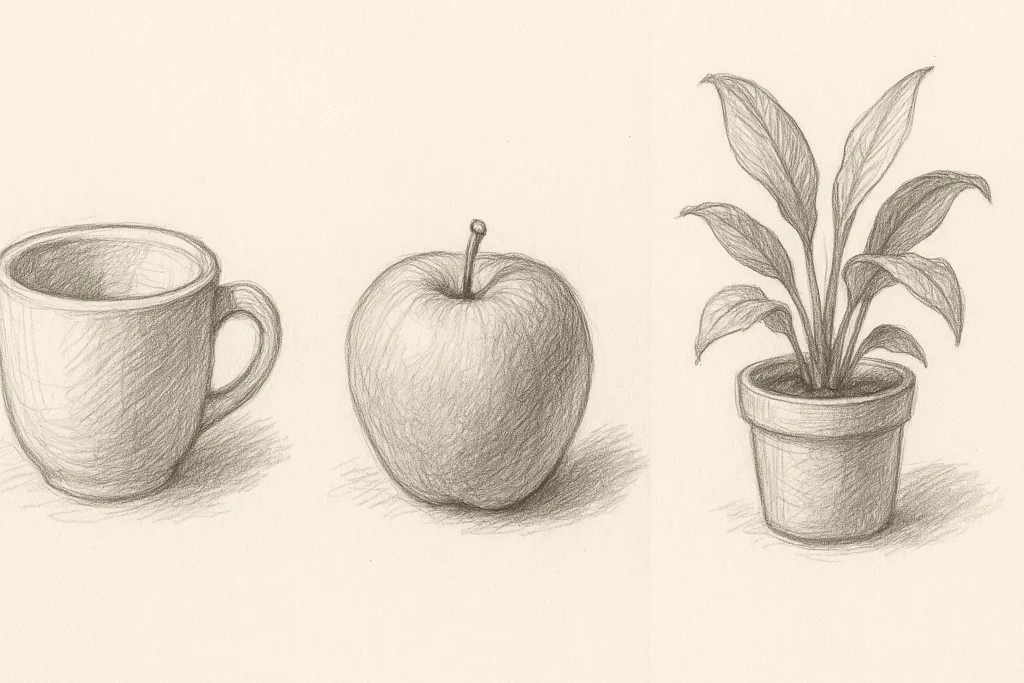
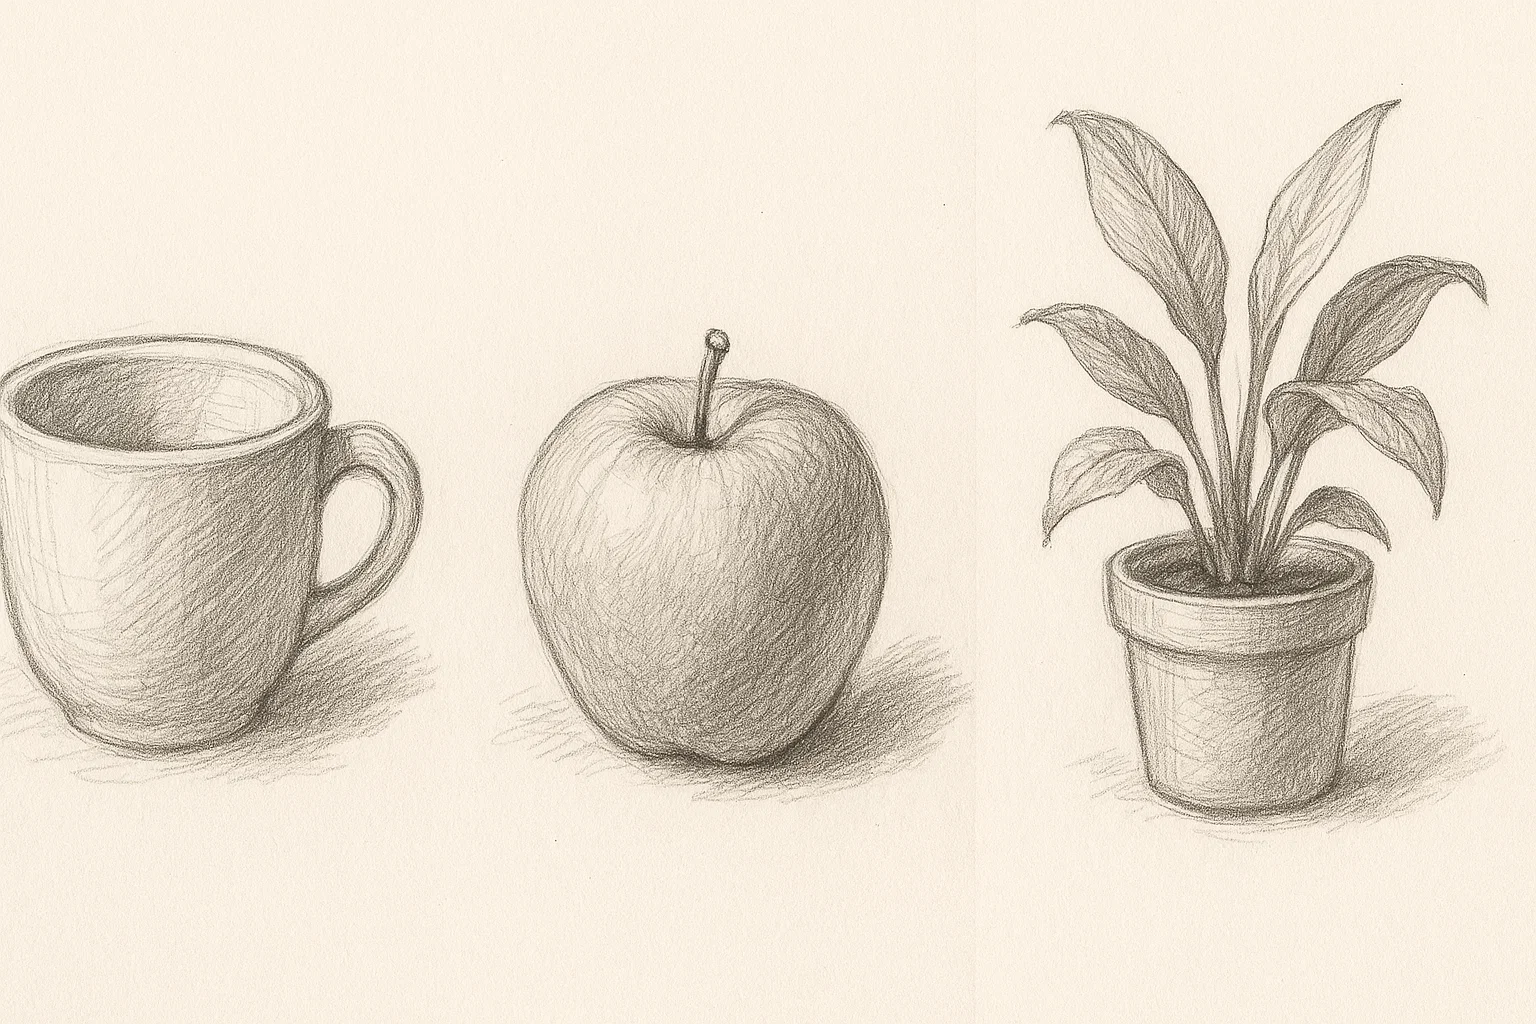
6. Drawing from Observation
Drawing from observation is one of the most important skills you can develop as an artist. When you draw what you see, you learn to capture details, proportions, and shapes with greater accuracy.
How to Do the Exercise
- Choose Simple Objects: Start with simple, still objects like a cup, a fruit, or a plant. Pay attention to the outline, light, and shadows.
- Quick Sketching: Try doing 5-10 minute sketches to train your observation skills and quickly capture the essence of the object without focusing on detail.
- Long Observation Drawing: Pick a more complex object and do a detailed drawing, observing all nuances and textures.
Pro Tip: The more you practice observational drawing, the easier it becomes to notice the subtle elements that enhance your accuracy.
Practice and Grow as an Artist
Now that you know several exercises to draw better, the next step is to practice them regularly. Remember that drawing is a skill that improves with consistent practice, and patience is key to reaching a good level of proficiency.
Don’t be discouraged by your early results—every mistake is an opportunity to learn and improve. So grab your materials and start drawing today! Over time, you’ll see noticeable improvement and, most importantly, gain more confidence in your creative process.