The Journey of a Beginner Artist
If you’re a beginner in the world of drawing, you’ve probably wondered: where do I start? This question is common for those beginning to explore the art of drawing. The good news is that, despite seeming complex, drawing can be simplified and made into an enjoyable and accessible practice for everyone. The key to this is understanding the basic techniques, which can be used to improve your skills and transform your drawing into a form of personal and creative expression.
In this article, we’ll discuss the main drawing techniques every beginner should learn. We’ll cover everything from basic sketches to more advanced techniques like shading and detailing, and provide essential tips and tricks to improve your drawings. By the end of this guide, you’ll have the necessary tools to start creating your first drawings and develop your artistic skills continuously.
1. Sketching: The First Step in Every Drawing
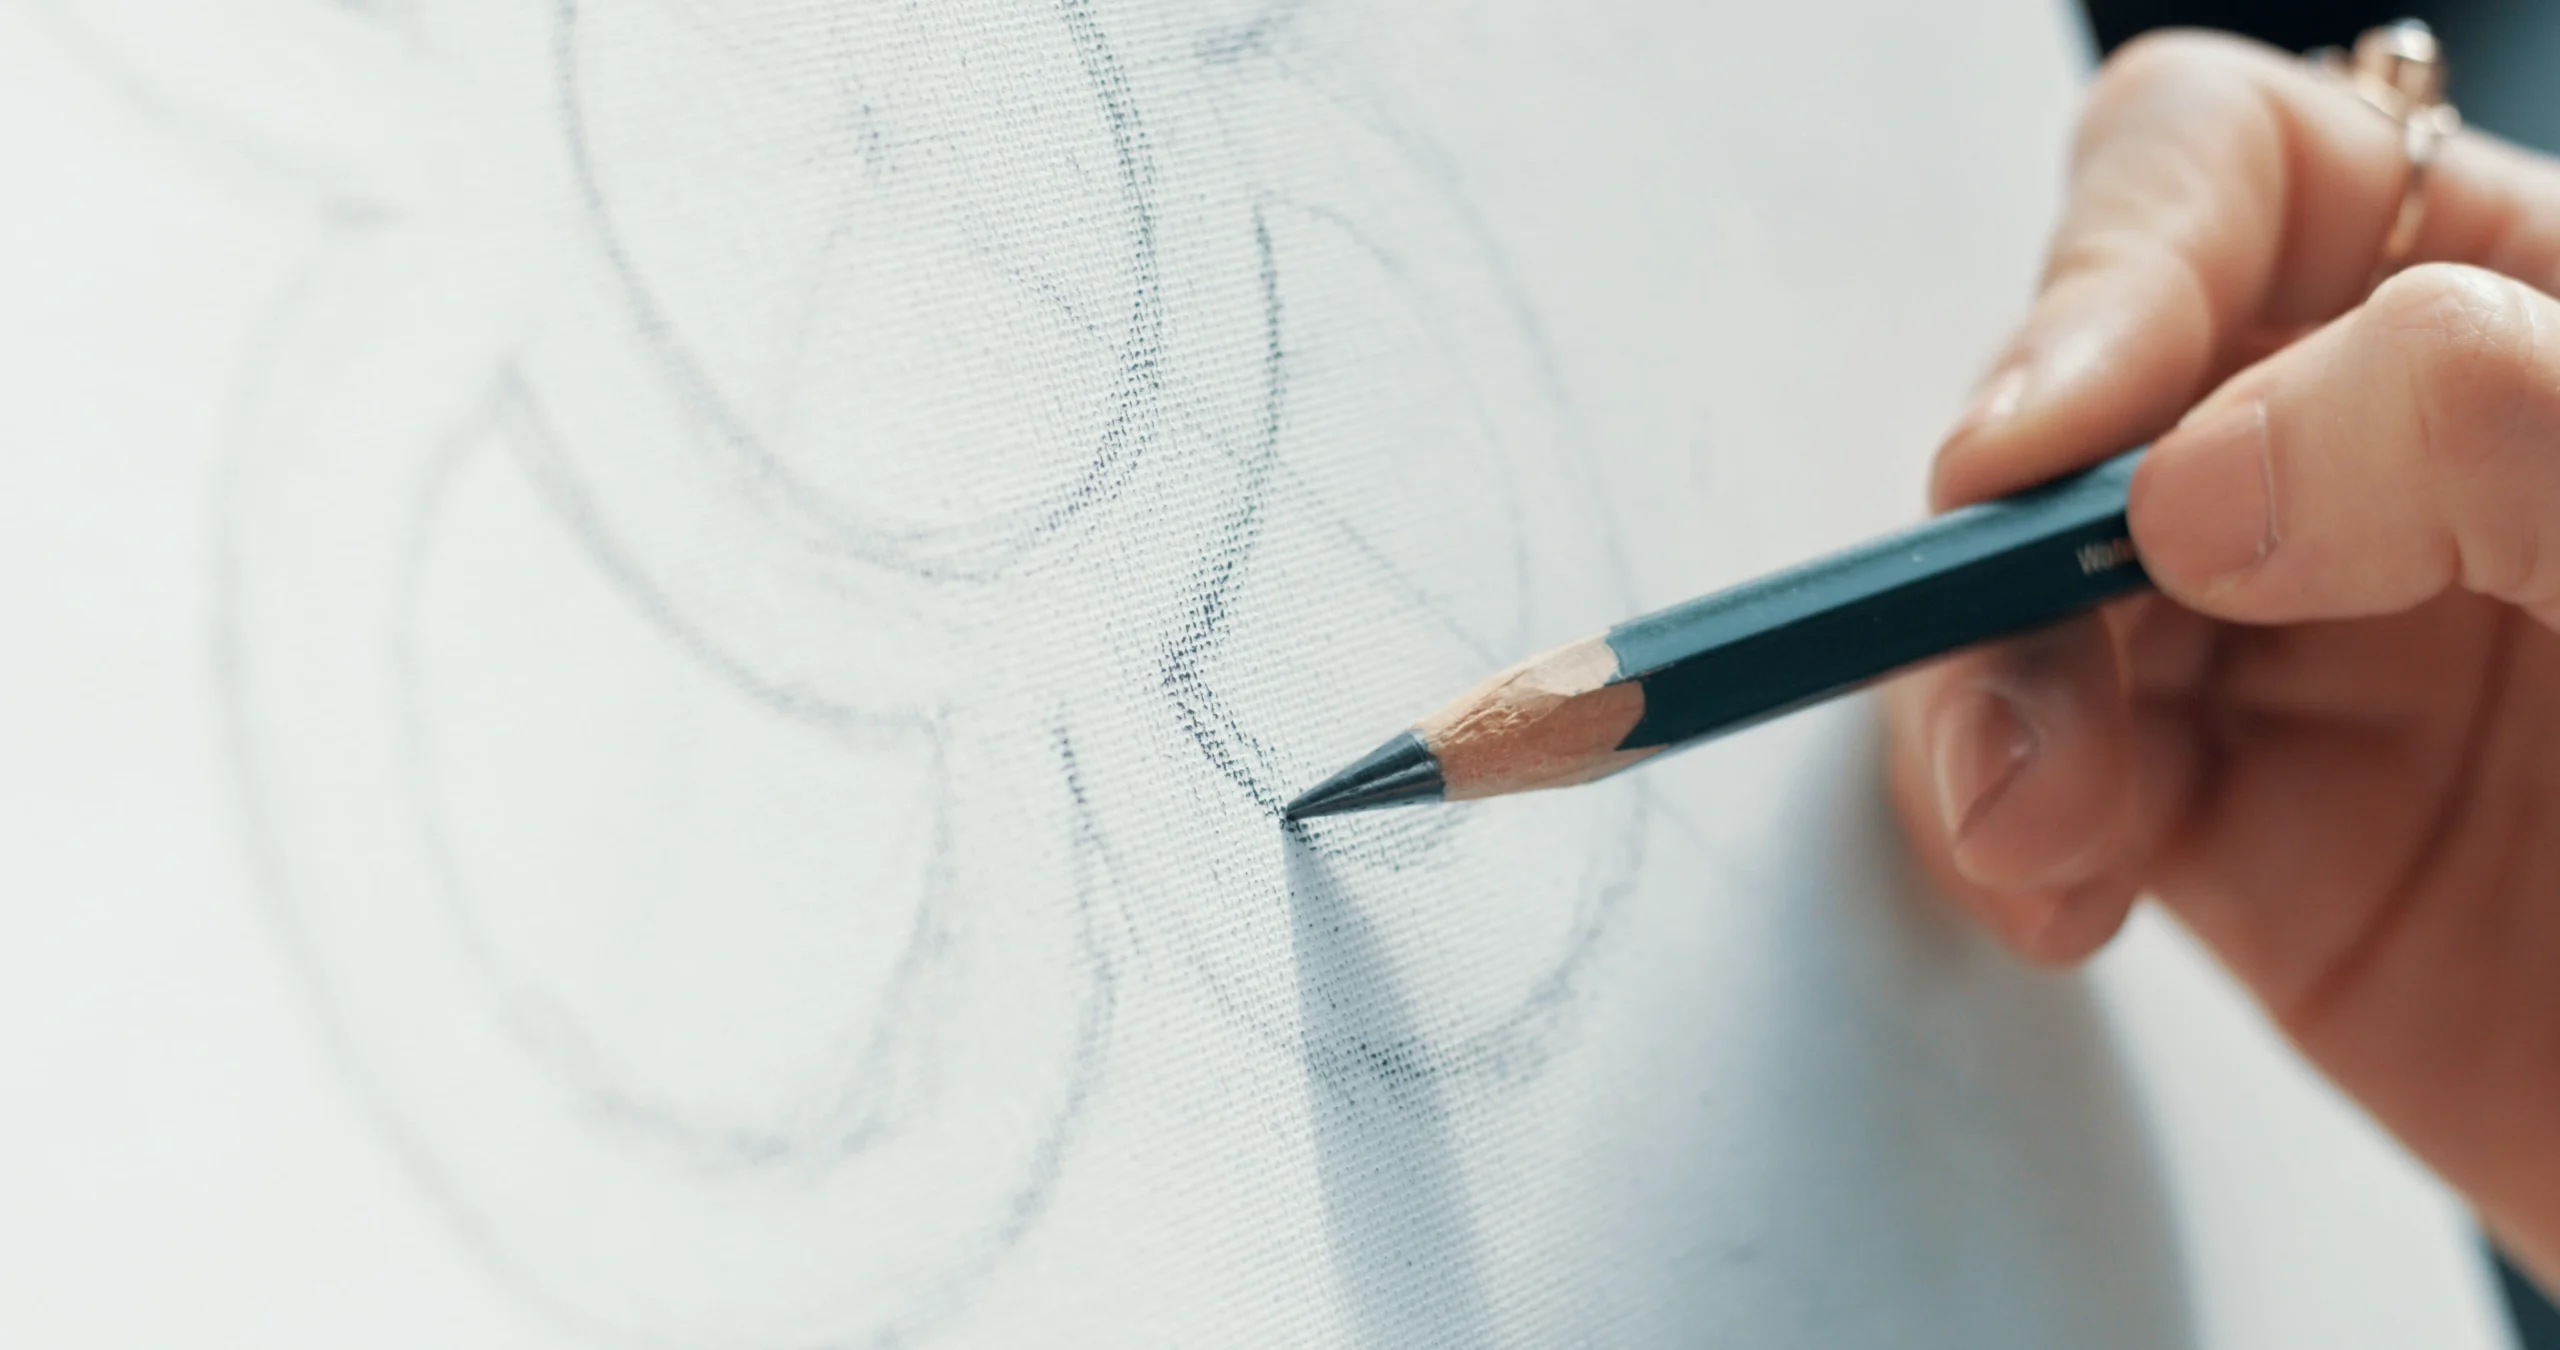
Sketching is the foundational technique you’ll learn as a beginner. It serves as the base for your drawings, allowing you to structure and plan the composition before adding more details and shading. Sketching is the foundation of drawing, where you set the basic shapes and proportions of your drawing.
How to Make a Basic Sketch
- Start with simple shapes: To draw an object or character, start with basic geometric shapes. If you’re drawing an apple, for instance, begin with a circle. If it’s a chair, start with rectangles and lines. These basic shapes help define the structure of the object and make the drawing process easier.
- Use light lines: At first, use a lighter pencil (such as H or HB) and make your lines very soft. This allows you to make corrections easily without leaving strong marks on the paper. The initial sketches are always provisional, so don’t be afraid to erase and adjust as needed.
- Build the shape: As you proceed with the sketch, refine the shapes and outline the object’s edges. Don’t worry about details just yet—focus on the overall structure. This step will serve as a guide for the rest of your drawing.
Important Tip: Keep your lines light and fluid, as this makes corrections easier and adjustments more manageable. The sketch should be a general representation, not a finished drawing.
2. Lines and Contours: The Foundation of Real Drawing
Once you’ve made the initial sketch, the next step is to work with lines and contours. Lines are the building blocks of drawing, as they define the shape of objects and give them clarity and structure. When you add contours to the sketch, your drawing starts to take a more defined shape.
How to Work with Lines
- Vary the thickness: When drawing, use a variety of line thicknesses. Thicker lines can be used for areas closer to the viewer or to highlight key elements, while finer lines are better for details and distant parts of the drawing. Varying the thickness of lines also helps create contrast and visual interest.
- Sharp or soft contours: Some parts of the drawing may require sharper and more defined contours, especially for geometric objects, while others can have softer contours, such as for organic shapes (e.g., fruits, plants, animals). The choice of line depends on the type of object or character you’re drawing.
- Use darker pencils or pens: After your initial sketch, you can use darker pencils (B, 2B, or 4B) or even fine-tipped pens to refine the contours. This will help highlight the most important parts of your drawing and give it a more definitive look.
Important Tip: Don’t worry about keeping the lines perfect. The goal is to find a balance between sharp and soft lines, creating a visual dynamic that makes your drawing more engaging.
3. Shading: How to Add Depth to Your Drawing
Shading is one of the most important techniques to add depth and realism to your drawing. It simulates the way light falls on an object, creating shadows and highlights that give it volume and realism.
How to Shade Properly
- Light source: Before you start shading, define the light source in your drawing. Knowing where the light comes from is essential to correctly place shadows. If the light is coming from above, the shadows will be at the bottom of the object.
- Use soft pencils (B): Softer pencils like B, 2B, or 4B are ideal for shading because they allow for smoother application. Use the soft pencils to create gradients and smooth transitions between light and shadow areas.
- Shading techniques:
- Hatching: Draw parallel lines to create shading. Vary the intensity of the lines to achieve a smooth transition from light to dark.
- Spiral shading: For a smoother shading effect, use a spiral motion with the pencil. This creates a softer and less harsh transition.
- Blending: For softer shadow areas, use a blending stump or even a piece of paper to blend the graphite and create a smooth effect.
Important Tip: Shading should be gradual. Don’t apply harsh, definite shadows immediately. Build up the shading slowly, layer by layer.
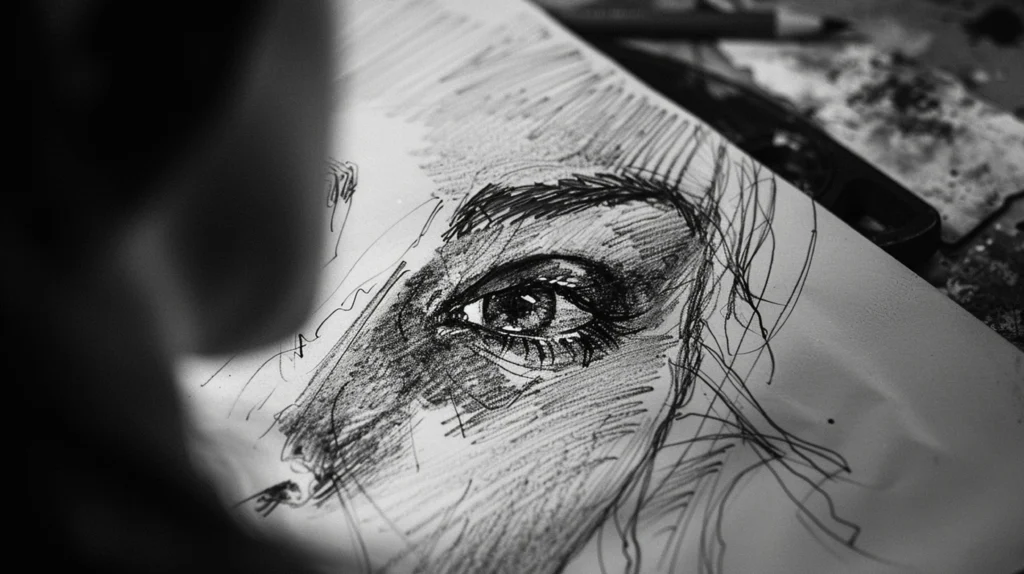
4. Detailing: How to Add Realism to Your Drawing
Detailing is what makes the difference between a basic drawing and a more realistic, interesting one. Details like textures, fine lines, and small observations make your drawing more expressive and lifelike.
How to Detail in Your Drawing
- Observe carefully: Pay close attention to the small details. To add realism to your drawing, observe the textures and small elements of the object, such as wrinkles, ripples, or patterns. This will make your drawing feel more alive and authentic.
- Work with patience: Detailing requires patience and control. Don’t rush through the detailing phase. Each line and mark should be made intentionally, as details are what give depth and realism to the work.
- Adding textures: Try techniques like hatching, stippling (drawing tiny dots), or using different types of lines to represent different surfaces. Every material (wood, skin, glass) has its own texture, and your drawing should reflect that.
Important Tip: Less is more. Don’t overload your drawing with excessive details. Focus on the most relevant and important areas.
5. Use of Color: Bringing Your Drawing to Life
While many beginners start with pencil drawings, adding color can bring a whole new dimension to your artwork. Using color can add life and vibrancy to your drawing, as well as express emotions in a unique way.
How to Work with Color
- Choosing materials: When choosing colors, you can opt for colored pencils, watercolors, or markers. Each medium has its own characteristics, and the choice will depend on the effect you want to achieve.
- Layering: When using colored pencils or markers, start by applying thin layers of color, and gradually build up layers to achieve the desired intensity. This gives you control over the saturation and brightness of the colors.
- Shading with color: Just like with pencils, you can use color layering to create shadows and gradients.
Important Tip: Take your time when applying color, just like you did with sketching and shading. Let time and practice improve your use of colors.
6. Practice: The Path to Continuous Improvement
Drawing is a skill that improves over time with consistent practice. Don’t be discouraged by your initial results – progress will become visible as you practice the techniques.
How to Practice Effectively
- Draw every day: Even if it’s just 10 to 15 minutes a day, the important thing is consistency. Don’t worry about making a perfect drawing; the key is to keep practicing.
- Experiment with different techniques: Don’t limit yourself to just one technique. Experiment with shading, detailing, textures, and even digital drawing as you grow more confident.
- Study other artists: Observe the work of artists you admire. This can help you understand different styles and techniques, and inspire your own work.
Important Tip: Patience is key. Drawing is a journey, and every mistake is an opportunity to learn and improve.
Start Now and Keep Evolving
Now that you know the main drawing techniques for beginners, what are you waiting for? Start with a simple sketch, experiment with shading, details, textures, and even colors. Remember: the secret to becoming a good artist is consistent practice and patience. Every drawing, even the simplest one, is an important step on your artistic journey.
Good luck and enjoy exploring your creativity through drawing!