Introduction: What Is One-Point Perspective and Why Does It Matter
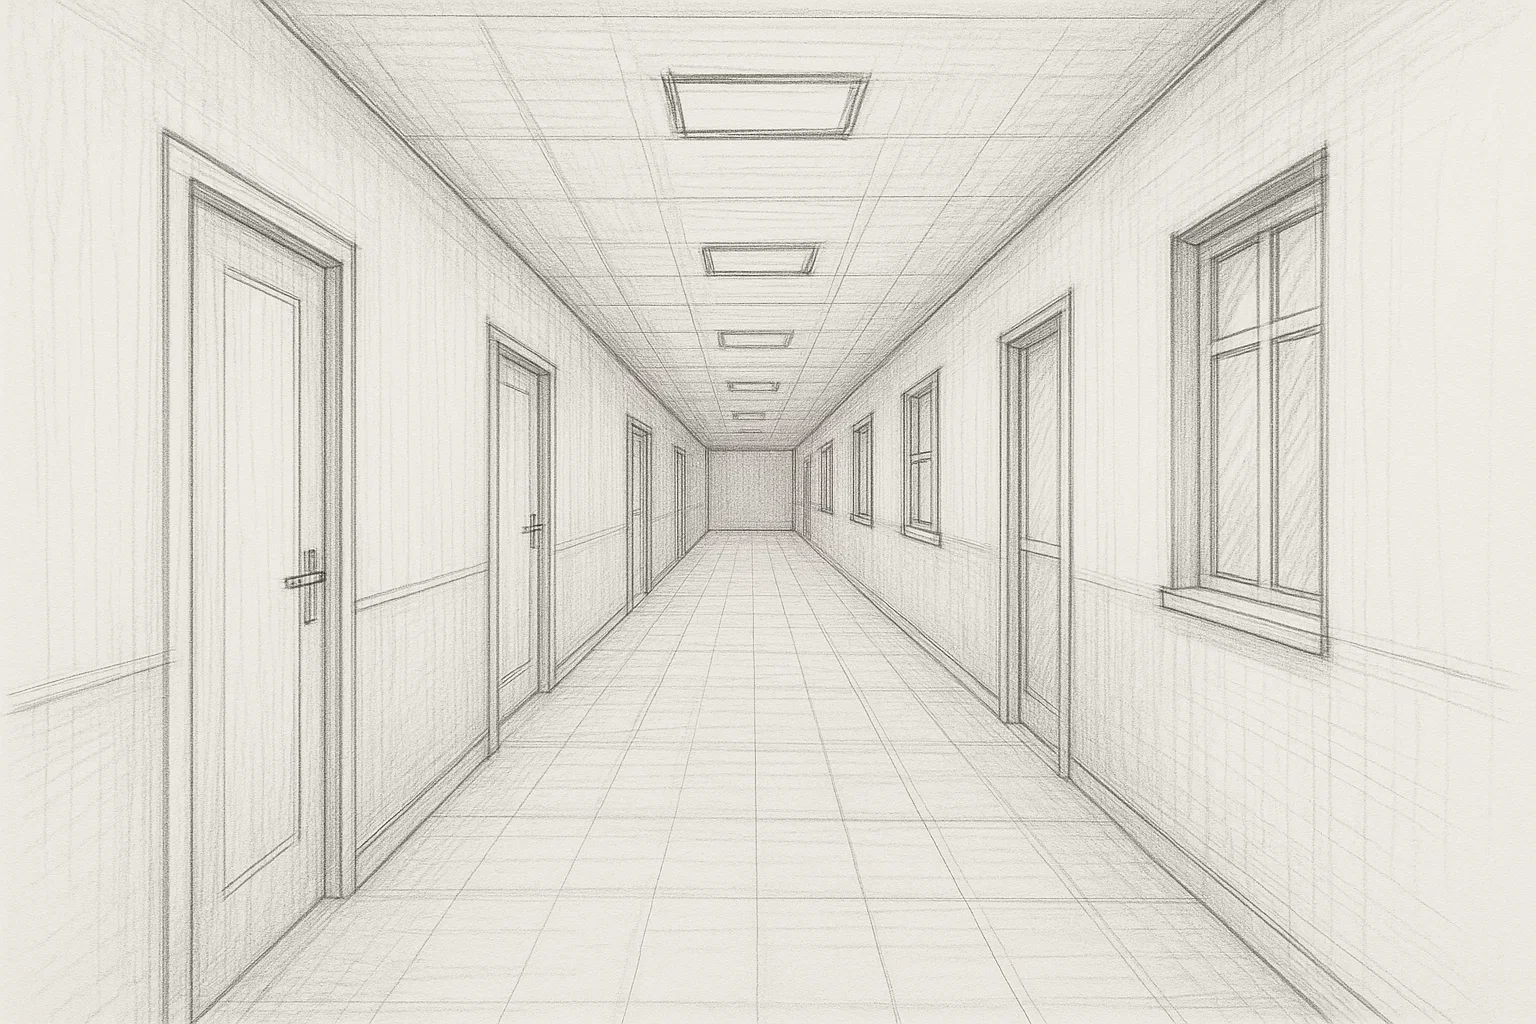
One-point perspective, also known as linear perspective, is one of the simplest and most effective ways to create the illusion of depth in a drawing. Widely used in art, design, and architecture, this technique is essential for representing objects and spaces that extend into the distance, such as hallways, roads, rooms, and train tracks.
Mastering this concept is one of the first major steps in the journey of anyone learning how to draw realistically. In this article, you’ll learn what one-point perspective is, the essential elements involved, and most importantly, how to apply it step by step in your drawings.
1. Understanding the Concept of One-Point Perspective
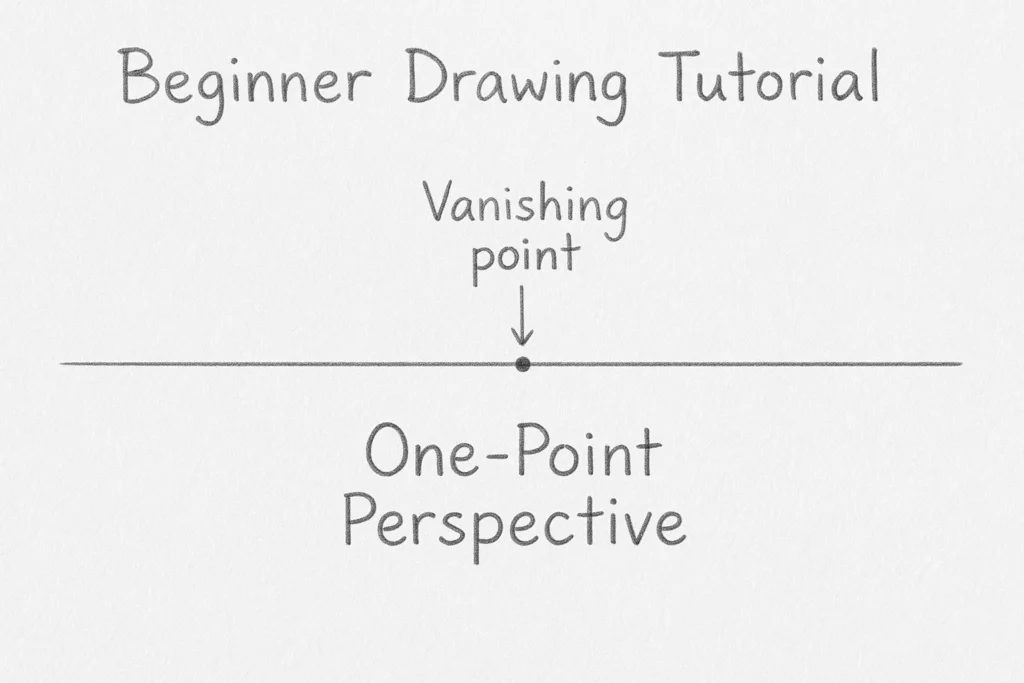
In one-point perspective, all lines that are parallel in depth converge to a single vanishing point, located on the horizon line—which represents the viewer’s eye level.
This technique is ideal for representing environments seen straight on, where the sides of objects align perpendicularly to the viewer’s line of sight.
Basic Elements of One-Point Perspective
- Horizon line: Represents the viewer’s eye level.
- Vanishing point: Where all lines in depth converge.
- Construction lines: Guiding lines that help you draw objects in the correct perspective.
- Frontal plane: The face of an object or environment that is directly facing the viewer (undistorted).
2. Materials You’ll Need for This Exercise
To practice, you’ll need:
- HB or H pencil (for sketching)
- Eraser
- Ruler (optional at first, but helpful for straight lines)
- A4 drawing paper or sketchbook
- Fineliner pen or darker pencil (for final lines)
3. Step-by-Step: Drawing a Hallway in One-Point Perspective

Step 1: Draw the Horizon Line
Using your pencil, draw a horizontal line slightly above or at the center of your sheet. This is your horizon line, representing the eye level of the viewer.
Step 2: Mark the Vanishing Point
Place a dot in the center of the horizon line. This will be your vanishing point. Every element that recedes into the distance will converge toward this point.
Step 3: Draw the Frontal Rectangle
Just below the horizon line, in the middle of the page, draw a vertical rectangle. This will be the frontal plane, as if it’s the entrance of a hallway or the front wall of a room.
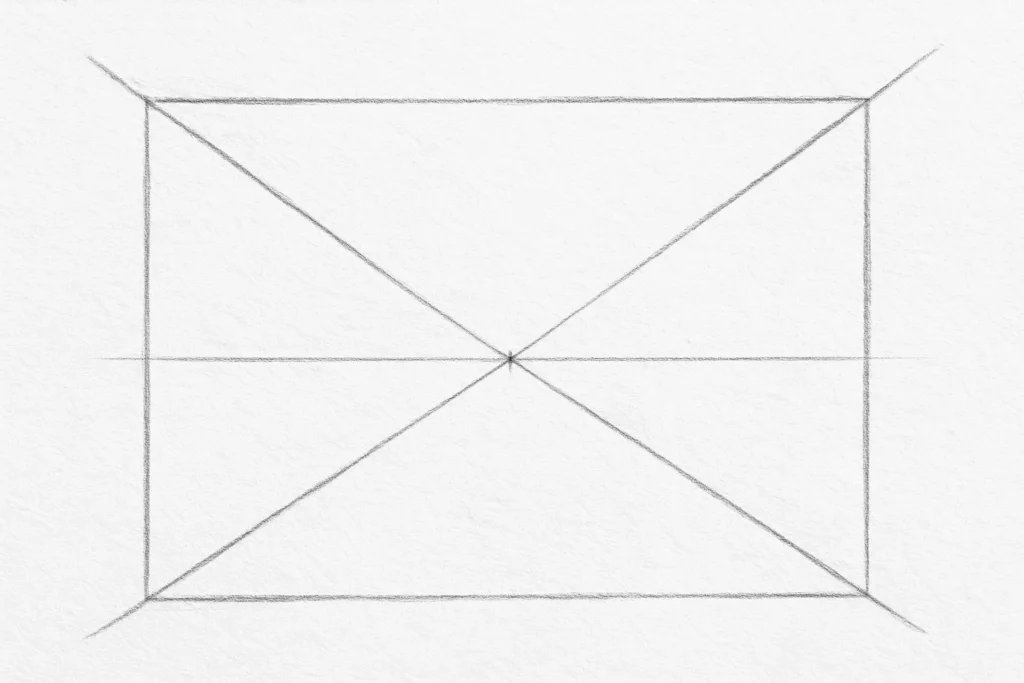
Step 4: Create Depth with Construction Lines
From the four corners of the rectangle, draw light lines that converge to the vanishing point. These are your depth guides, defining the perspective of the room or corridor.
Step 5: Define the Back Wall
Choose a point closer to the vanishing point and draw a horizontal line connecting the two depth lines. This will form the back wall of the hallway.
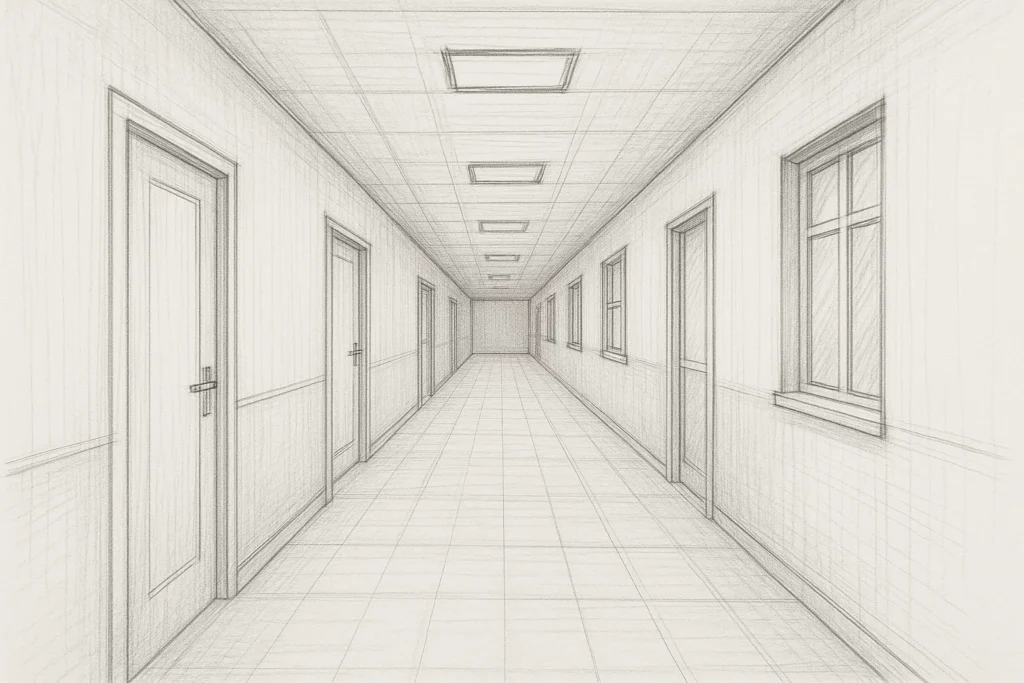
Step 6: Add Elements to the Scene
Now that you have the basic structure, start adding realistic details, such as:
- Doors or windows on the side walls
- Ceiling lights or wall art
- Lines on the floor or ceiling to add rhythm and reinforce depth
Remember: any elements receding into space must have their lines pointing toward the same vanishing point.
4. Tips to Make Your Drawing More Realistic
Use Contrast
The farther an object is, the lighter and smaller it will appear. Use darker tones for elements closer to the viewer and lighter tones for distant ones.
Create Rhythm with Repetition
Repeating elements like doors, windows, or lights—getting smaller as they recede—enhances the feeling of depth.
Avoid Extreme Vanishing Point Placement
If the vanishing point is too close or too far from the object, your drawing may look unnatural. Try placing it at or near the center or shift it slightly for variation.
5. More Practical Examples of One-Point Perspective
Drawing a Street in One-Point Perspective
- Horizon line with central vanishing point
- Sidewalks and crosswalks converging to the point
- Buildings with flat frontal faces
- Elements like streetlights, trees, and cars shrinking as they recede
Drawing a Simple Room
- Front wall as the base plane
- Floor and ceiling receding with perspective lines
- Furniture like tables, sofas, and shelves drawn from simple boxes
6. Common Mistakes and How to Avoid Them
Mistake: Lines Missing the Vanishing Point
Fix it by using a ruler or tracing lightly first to test line direction.
Mistake: Inconsistent Object Sizes
Use reference elements (like a door) to keep proportions consistent across the scene.
Mistake: Overloading the Horizon Line
Keep the horizon clean—use it strictly as a guide and don’t clutter it with unnecessary marks.
7. How to Practice One-Point Perspective Regularly
- Daily exercise: Draw a simple object or environment using a central vanishing point.
- Redraw from photos: Convert real-life photos into perspective sketches.
- Use printable grids: Find one-point perspective grids online to practice proper object placement.
Conclusion: Perspective as a Foundation for Artistic Growth
One-point perspective is the foundation for understanding space, proportion, and depth. Though it’s a simple technique, it opens the door to major improvements in your drawing and your ability to represent realistic scenes.
By practicing with patience, attention to detail, and consistency, you’ll master this technique and be ready to explore more advanced types of perspective, like two-point and three-point perspective.
Grab your paper, pencil, and ruler—and start building a three-dimensional world on your sketchpad today!