Why Understanding Perspective is Essential for Drawing Well
Perspective is one of the most powerful tools in drawing. It allows you to create the illusion of depth and three-dimensionality on a flat surface, such as a sheet of paper. Even if you’re drawing something simple, understanding how objects behave in space and how they relate to each other in terms of distance, height, and proportion makes a huge difference.
In this guide, you’ll learn the main types of perspective in drawing, with clear explanations, examples, and practical guidance. This content is ideal for beginners who are starting to explore technical, artistic, or architectural drawing.
1. What is Perspective in Drawing?
Perspective is the technique used to represent three-dimensional objects on a two-dimensional surface, simulating how the human eye sees the real world. When we look at a street, for example, we notice that buildings appear smaller as they recede into the distance. Perspective attempts to reproduce this effect on paper.
Fundamental Elements of Perspective
Before diving into the types, it’s important to understand some basic elements:
- Horizon line: Represents the viewer’s eye level.
- Vanishing point: The point where parallel lines converge in the distance.
- Construction lines: Guiding lines that help direct the drawing toward the vanishing point(s).
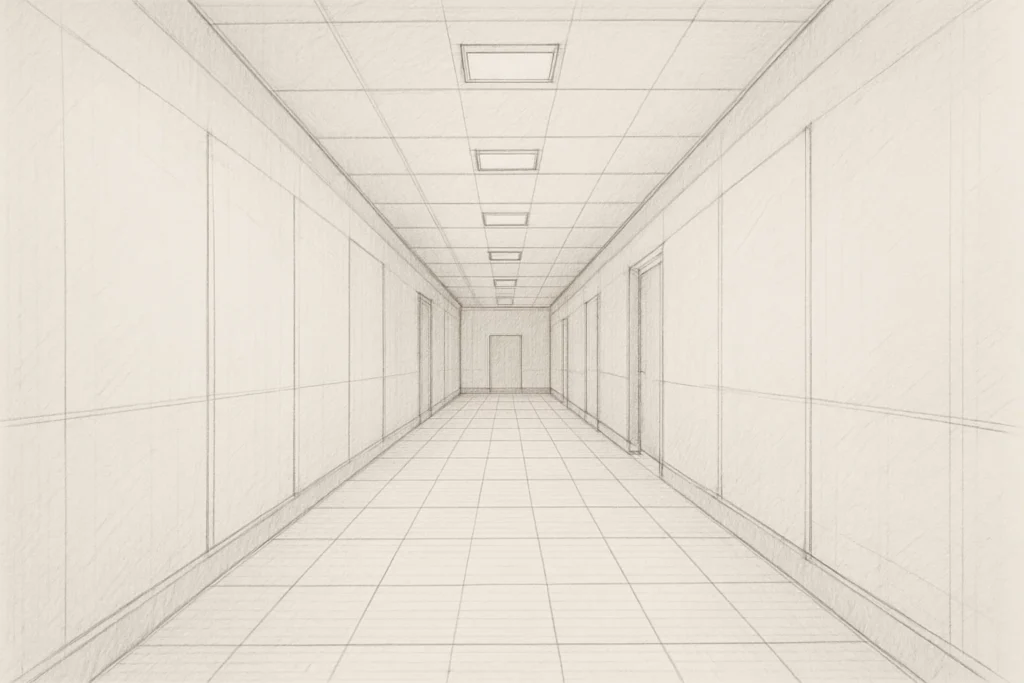
2. One-Point Perspective
One-point perspective (also called linear perspective) is the simplest type and ideal for beginners. It’s used when the object is facing the viewer directly, and all parallel lines recede to a single vanishing point located on the horizon line.
When to Use It
- Hallways
- Straight roads
- Railways
- Rooms viewed from the front
How to Practice
- Draw the horizon line.
- Mark the central vanishing point.
- Draw a square or rectangle as the “frontal wall.”
- Use converging lines to guide the sides of the object to the vanishing point.
- Finish by adjusting proportions and outlines.
Advantages for Beginners
- Visually easy to understand.
- Great introduction to depth.
- Helps practice straight and parallel lines.
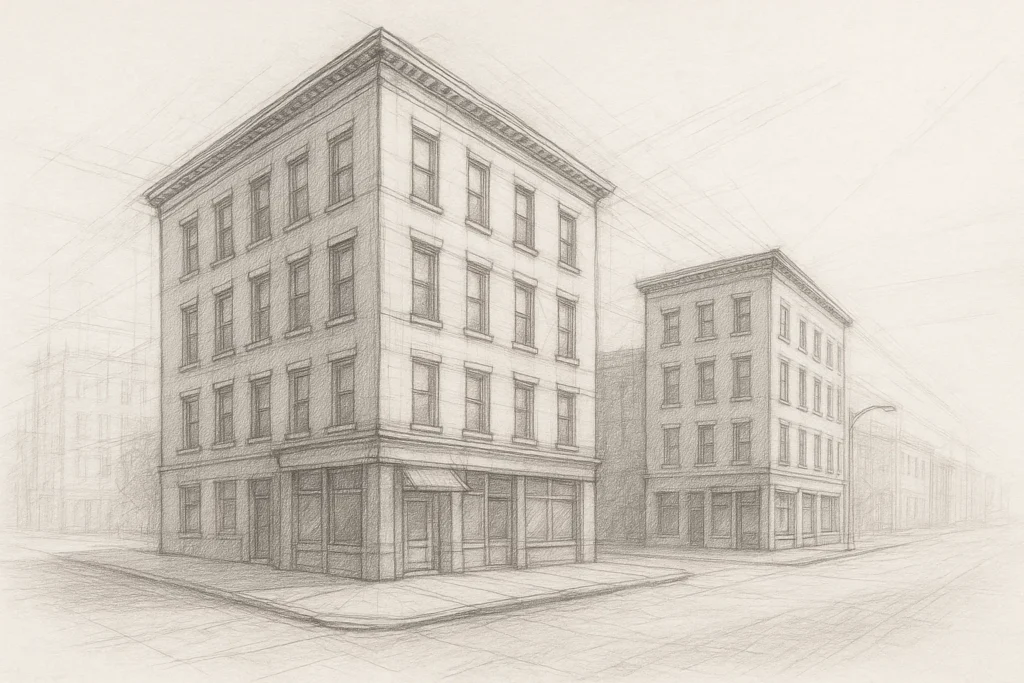
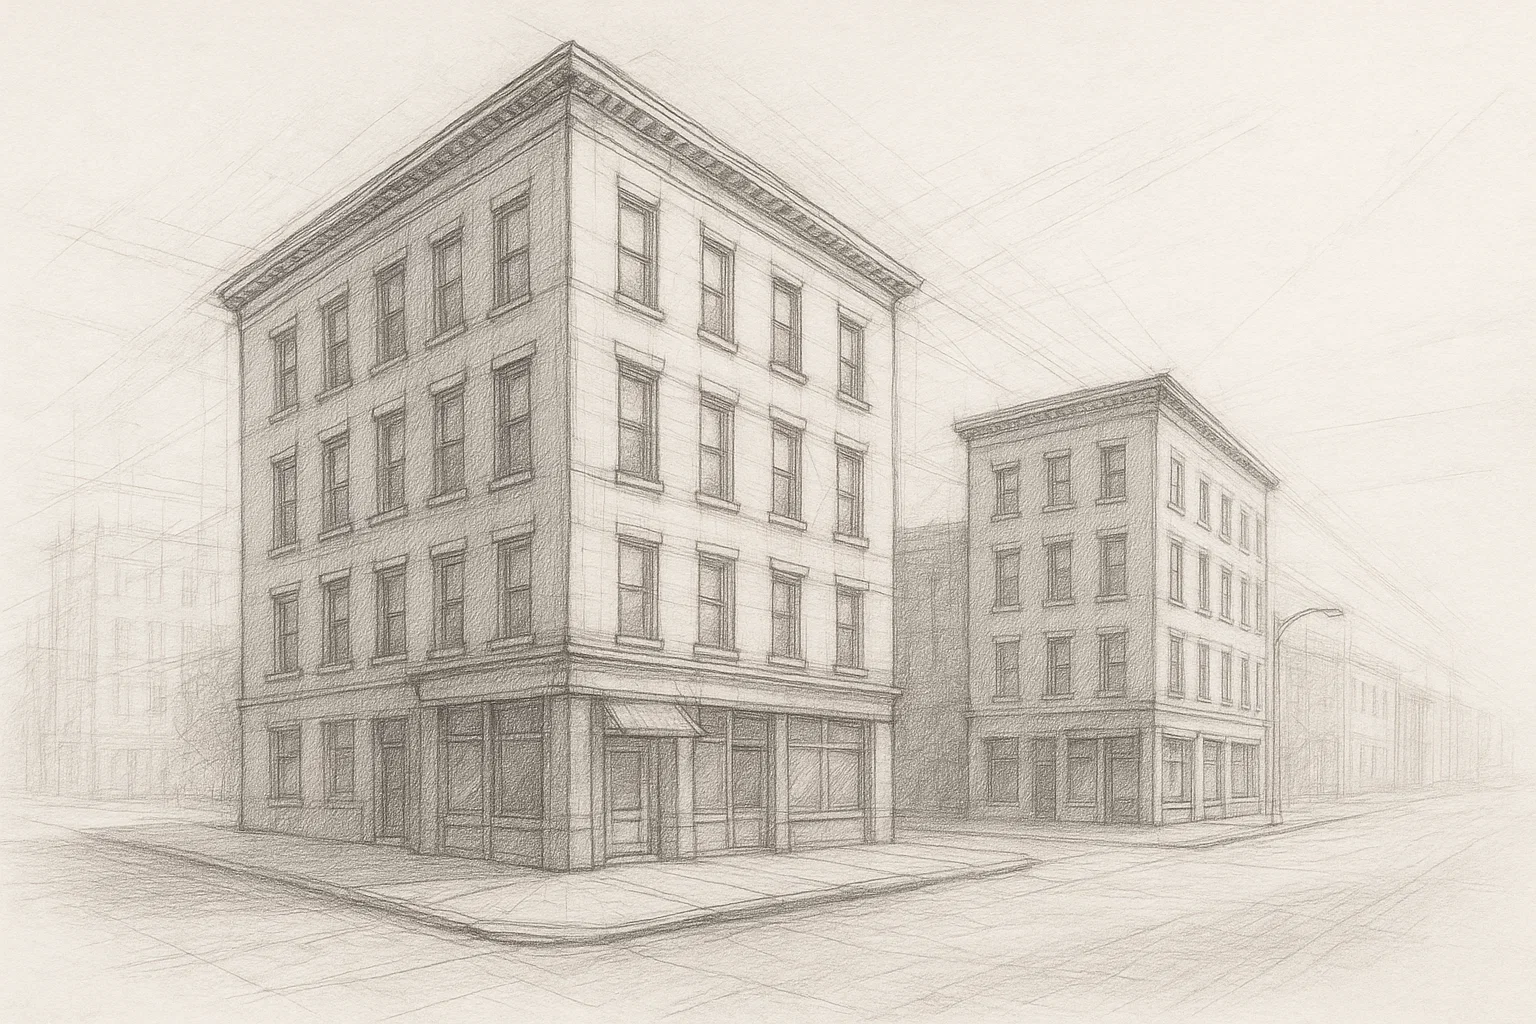
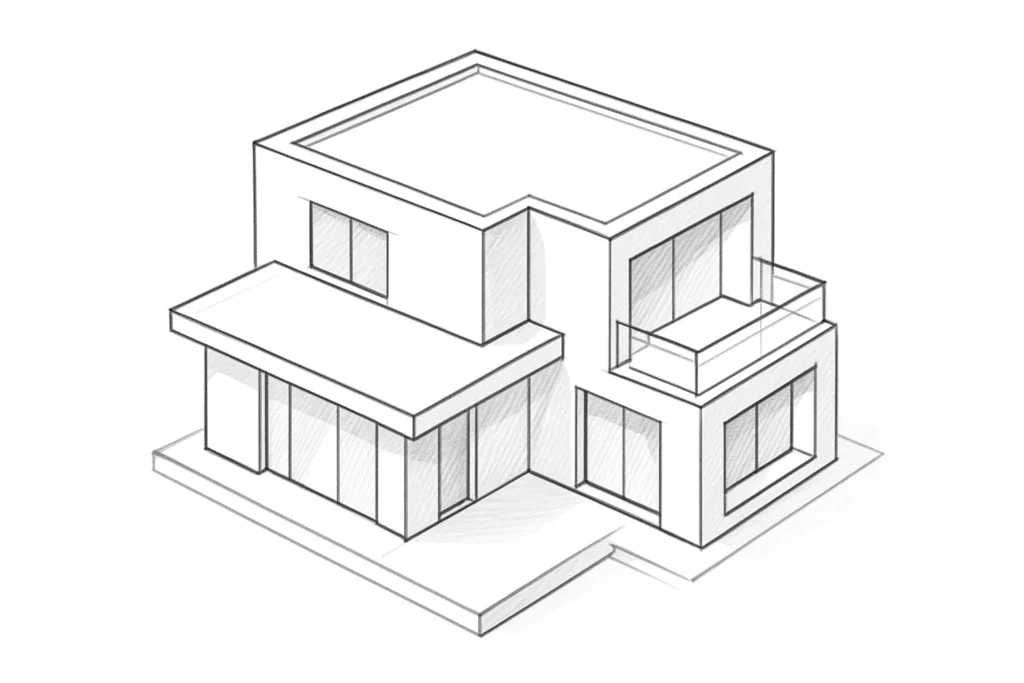
3. Two-Point Perspective
Two-point perspective is a step up from the first and widely used for drawing objects or scenes at an angle. It uses two vanishing points located on the horizon line, one on each side of the object.
When to Use It
- Drawing buildings or objects from an angle
- Street corner views
- Rotated cubes and boxes
How to Practice
- Draw the horizon line.
- Mark two vanishing points far apart.
- Draw a vertical line as the corner of the object.
- From both ends of that line, draw lines toward each vanishing point.
- Close the sides with vertical lines.
- Use more vanishing lines to build depth and volume.
Challenges for Beginners
- Requires more attention to symmetry.
- Can feel confusing at first.
- Trains your eye for more realistic perspective.

4. Three-Point Perspective
Three-point perspective is used when the viewer is looking from above or below, creating a dramatic effect. It uses three vanishing points: two on the horizon line and one above or below, depending on the angle.
When to Use It
- Looking up at tall buildings (worm’s-eye view)
- Looking down from high places (bird’s-eye view)
- Scenes with strong visual impact
How to Practice
- Draw the horizon line and two side vanishing points.
- Add a third vanishing point above (for top-down view) or below (for bottom-up).
- Start with a vertical line in the center of the scene.
- Use all three vanishing points to guide the edges and lines of your subject.
Complexity for Beginners
- More advanced but worthwhile after mastering one- and two-point.
- Improves advanced spatial perception.
- Ideal for action scenes, comics, and dramatic compositions.
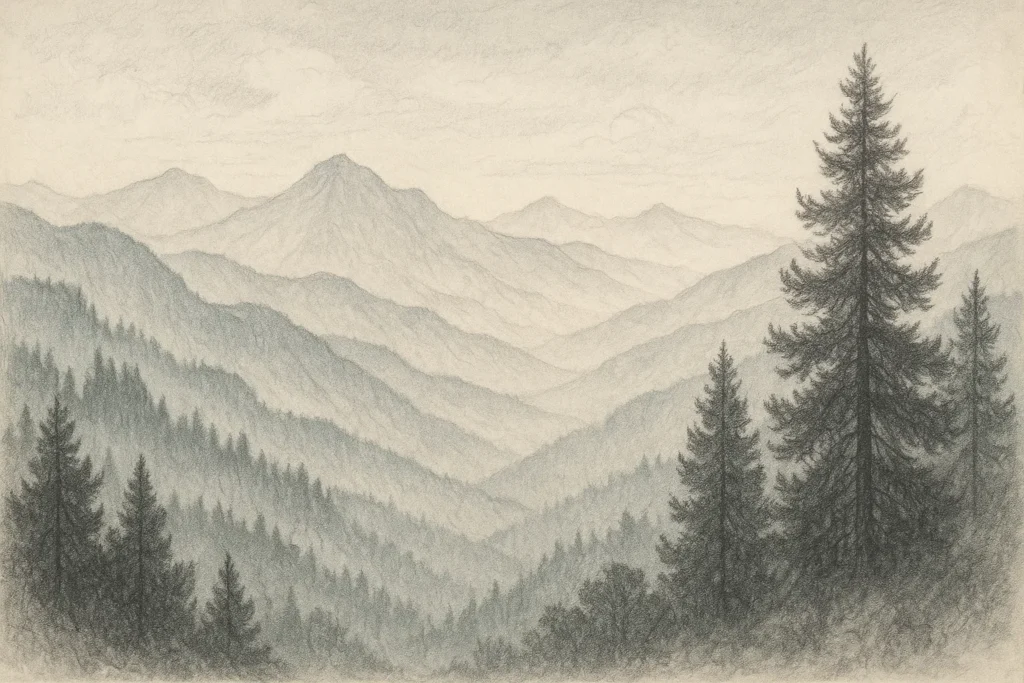
5. Atmospheric (or Aerial) Perspective
Unlike the previous ones, atmospheric perspective doesn’t rely on vanishing points. Instead, it simulates the change in color, contrast, and sharpness that happens when objects are far away.
When to Use It
- Natural landscapes
- Drawings with visual depth
- Paintings and concept art
How to Apply
- Distant objects: less contrast, less saturation, fewer details.
- Closer objects: more contrast, higher saturation, more texture.
Practical Example
In a mountain landscape:
- The closest mountain is drawn with defined lines and strong shadows.
- The distant mountains are drawn with softer lines and lighter tones.
6. Isometric Perspective
Isometric perspective is commonly used in design, engineering, and gaming. It has no vanishing points, and the angles between the main lines are always equal (usually 120° between each axis).
When to Use It
- Technical drawing
- Industrial design
- Game maps (RPGs, strategy)
How to Draw It
- Start with a vertical line (height).
- Draw two diagonal lines at 30° from the horizontal (width and depth).
- Use a ruler to keep all proportions equal.
Features
- No perspective distortion.
- All sides maintain real proportions.
- Great for explaining structure and volume.
7. General Tips for Practicing Perspective
- Practice daily: Repeat simple exercises to better understand how perspective works.
- Use references: Look at photos of buildings, streets, and objects and try to recreate them.
- Draw from life: Your desk, hallway, or window view are all great subjects to study perspective.
- Avoid rulers at first: Practice freehand to develop visual accuracy.
Expand Your Artistic Vision Through Perspective
Mastering the types of perspective in drawing is an essential step for any artist, even a beginner. With perspective, you can convincingly represent the three-dimensional world on paper, whether with simplicity or complexity.
With time, practice, and observation, you’ll start applying these techniques intuitively, making your drawings more realistic, deep, and compelling.
So pick one perspective type and start drawing right now. Every line you draw is a step in your artistic growth!